I don’t know what it is that makes shooting decent pictures of brownies darned near impossible for me. You’d think I’d gradually get better at it, but no, these are just as bad, if not worse, as some of my other brownie shots from the past. Alas, I am too lazy to try again, so these ugly-looking brownie pictures are getting posted, like it or not!
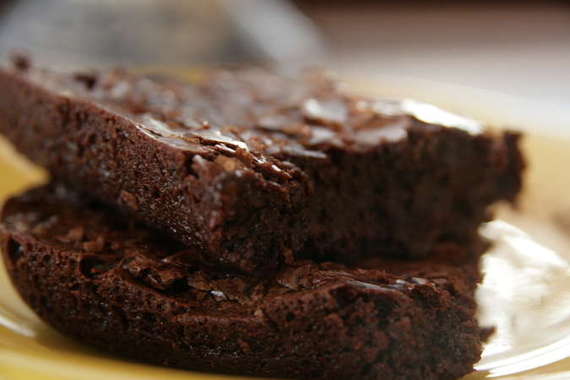
I realize it’s been two weeks since I posted a TWD recipe…I know…I’m bad. BUT – here I am again, back on the TWD wagon! This week’s recipe is Tribute to Katherine Hepburn Brownies (love her!), chosen by Lisa of Surviving Oz, who was the winner of a little logo contest we held over at TWD. Yay Lisa! I’ve been waiting on someone to pick these brownies for a couple of reasons, A.) I love me some brownies! and B.) I LOVE Katherine Hepburn! My favorite of her movies is The Philadelphia Story with Cary Grant and Jimmy Stewart – have you watched this? If you haven’t, you SHOULD!! It’s one of the great classics, in my opinion! Some others of hers that I just love are Bringing Up Baby, Adam’s Rib, and Woman of the Year. This woman didn’t make a bad movie! I was happy to make her special brownies and as I ate them, I imagined good old Kate baking these in her kitchen…”these brownies are just delicious, rally they are…rally..”.
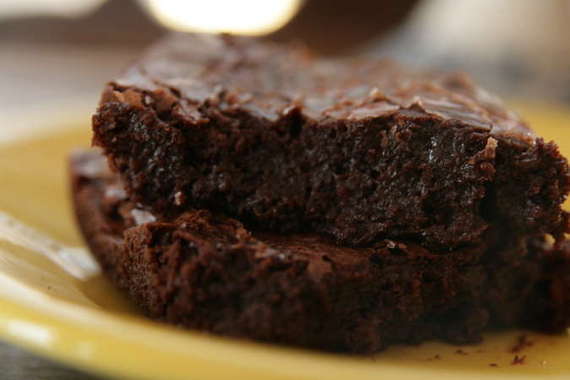
I know the pictures are the epitome of suck, but really, they were some of the best brownies I’ve ever eaten! If you like fudgy brownies, these are for you, my friend!! Visit Lisa’s blog and get the recipe – make Katherine’s brownies and watch her movies…a great night, in my opinion!! Enjoy!!
Yesterday we had a big family post-4th of July get-together at our house. My grandmother (Granna), my Aunt Josie and her family, my Uncle Alan and his family, my mom, dad, sister and nephew were all there. 16 people total. This was the first time for most of them to see our new house, so we were excited for them to come! I was especially excited for everyone to meet Izzy! Of course, she was (as always) the life of the party! Here’s Granna outside in our backyard getting acquainted little miss Izzy Bell…
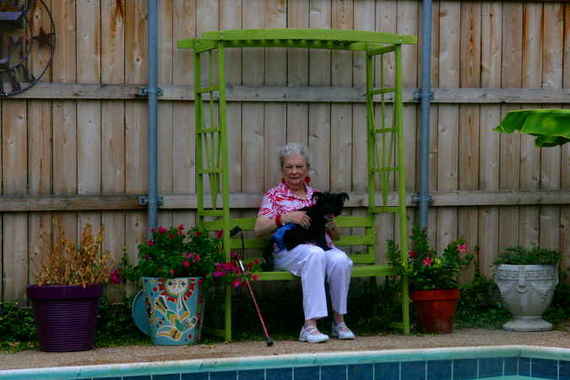
(And yes, that is a dead hibiscus plant over there….I killed it a few weeks ago and now I’m trying to bring it back to life. We’ll see…)
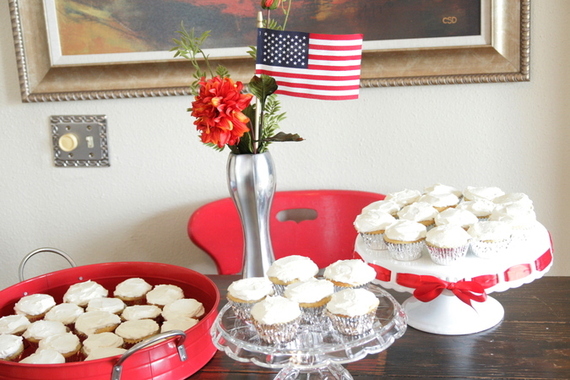
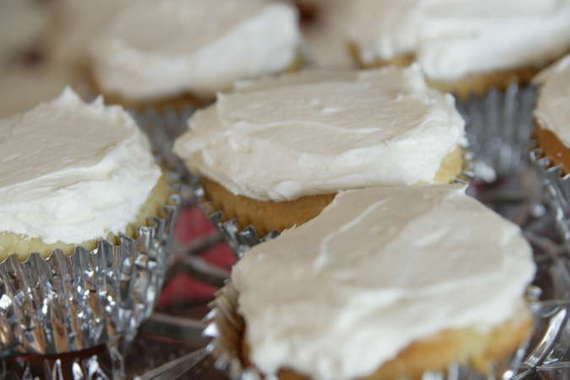
I thought this would be a perfect chance for me to try out my new Martha Stewart Cupcakes book – I picked the Yellow Buttermilk Cupcakes with Fluffy Vanilla Frosting and they were SO good! I think this might just be my new favorite cupcake. The cupcakes are light and moist and the frosting is to die for! Everyone really enjoyed them.
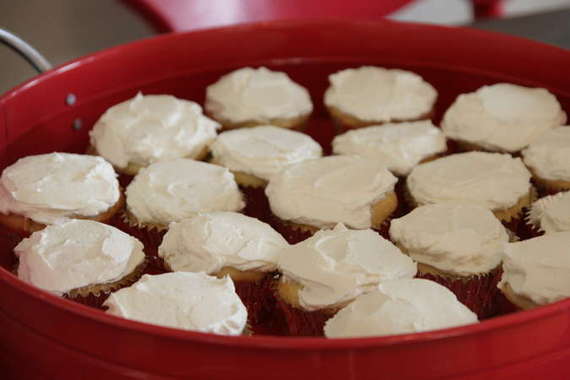
They were supposed to have cute little stars and stripes piped onto them, but we had a minor catastrophe just before everyone arrived (my pot wrack fell off of the wall, shattering my brand new ceramic measuring cups and making a HUGE mess that took forever to clean up!), so I didn’t exactly get a chance to do it. Oh well. They still tasted great. And who doesn’t love a plain ‘ol vanilla cupcake anyway, eh? Ok, so maybe it would’ve been cuter with the decorations….OH WELL!!
Yellow Buttermilk Cupcakes
-Martha Stewart Cupcakes
3 cups cake flour (not self-rising)
1 1/2 cups all-purpose flour
3/4 teaspoon baking soda
2 1/4 teaspoons baking powder
1 1/2 teaspoons coarse salt
1 cup plus 2 tablespoons (2 1/4 sticks) unsalted butter, room temperature
2 1/4 cups sugar
5 large whole eggs plus 3 egg yolks, room temperature
2 cups buttermilk, room temperature
2 teaspoons pure vanilla extract
Preheat oven to 350 degrees. Line standard muffin tins with paper liners. Sift together both flours, baking soda, baking powder, and salt.
With an electric mixer on medium-high speed, cream butter and sugar until pale and fluffy. Reduce speed to medium. Add whole eggs, one at a time, beating until each is incorporated, scraping down sides of bowl as needed. Add yolks, and beat until thoroughly combined. Reduce speed to low. Add flour mixture in three batches, alternating with two additions of buttermilk, and beating until combined after each. Beat in vanilla.
Divide batter evenly among lined cups, filling each three-quarters full. Bake, rotating tins halfway through, until cupcakes spring back when lightly touched and a cake tester inserted in centers comes out clean, about 20 minutes. Transfer tins to wire racks to cool 10 minutes; turn out cupcakes onto racks and let cool completely. Cupcakes can be stored overnight at room temperature, or frozen up to 2 months, in airtight containers.
Fluffy Vanilla Frosting
-Martha Stewart Cupcakes
1 1/2 cups (3 sticks) unsalted butter, room temperature
1 pound (4 cups) confectioners’ sugar, sifted
1/2 teaspoon pure vanilla extract
With an electric mixer, beat butter on medium-high speed until pale and creamy, about 2 minutes.
Reduce speed to medium. Add the confectioners’ sugar, 1/2 cup at a time, beating well after each addition and scraping down sides of bowl as needed; after every two additions, raise speed to high and beat 10 seconds to aerate frosting, then return to medium-high. This process should take about 5 minutes. Frosting will be very pale and fluffy.
Add vanilla, and beat until frosting is smooth. If not using immediately, frosting can be refrigerated up to 10 days in an airtight container. Before using, bring to room temperature, and beat on low speed until smooth again, about 5 minutes.
I think everyone had a great time (especially the kids who spent almost the entire time out in the pool!), and I loved making these great cupcakes and having everyone over for a great 4th of July get-together! I hope everybody had a great holiday weekend with friends and family!
If you’ve happened to look over to the right on my side bar, you’ll have noticed there’s a new badge – a cute little “You Want Pies With That?” badge! I’m so excited to be a part of a new online baking group! Very similar to Tuesdays with Dorie, except this is once a month, and it’s all about pie! I love pie. I mean really love pie. Did you ever see that movie Waitress, with Kerri Russell? Well, that’s what this group is based off of – Kerri Russell’s character makes up all kinds of amazing pies all the time, and so that’s what we do, too! Once a month, somebody picks a theme – like, this month’s theme is “Taste of Summer” – and then we all create our own ingenious pie based on that! How fun!! Here’s the site where you can go and look at all the amazing pies everyone has created.
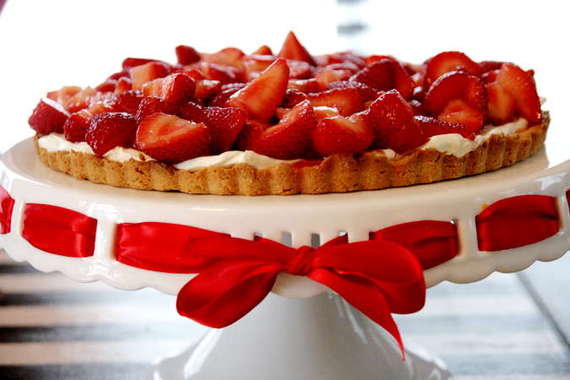
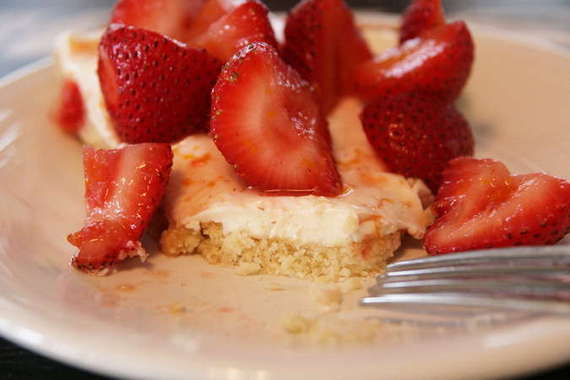
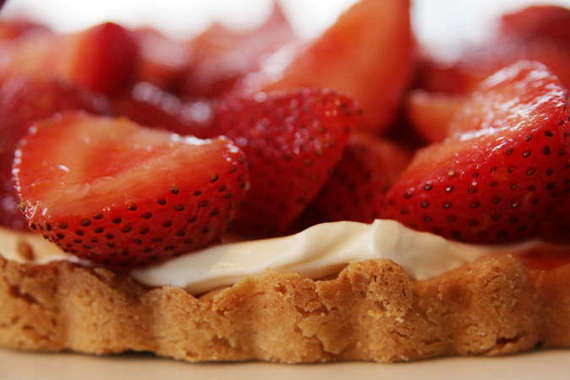
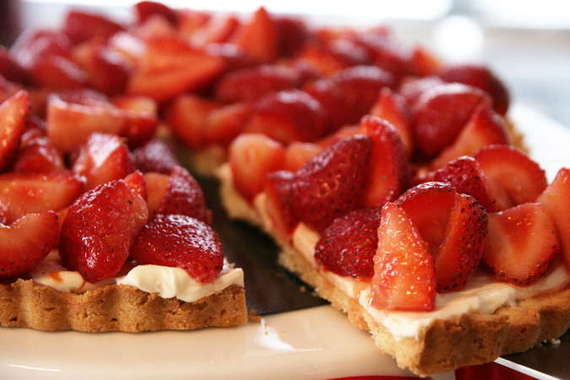
And here’s my “pie”. “Boozy Summer Strawberry Tart”. This was actually inspired by my hubby’s Aunt Judy – she suggested I toss strawberries with a little Amaretto Liqueur (YUM!); but I took it a little further and used a little splash of Grand Marnier, some orange zest and a squeeze of fresh orange juice; spread a cream cheese mixture over Dorie Greenspan’s Sweet Tart Crust, and topped it all off with the strawberries. I was a little worried since I was completely flying by the seat of my pants, but this ended up being one fantastic tart!
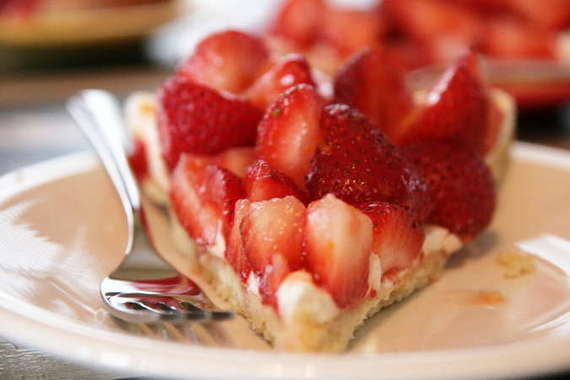
My good friend and fellow opera singer Amanda was visiting that day, so I decided to use her as my guinea pig. She absolutely loved the tart – she said it reminded her of something she ate once in Europe in a professional pastry shop (Yippee!). She thought it was the perfect summer dessert. Hubby and I both loved it too – so light and creamy and fresh. The Grand Marnier really gave the strawberries a fantastic flavor. This is definitely going to be a go-to dessert from now on! I’m so proud – my first ever, entirely made up dessert was a success! I am SO excited to be a part of this fun little group and can’t WAIT to see what fun kinds of pies lie ahead!
Boozy Summer Strawberry Tart
For the berries and cream cheese mixture:
2 regular sized containers fresh strawberries
1-2 tablespoons Grand Marnier Liqueur
1 8-oz package cream cheese, at room temperature
1 heaping tablespoon sour cream
1 teaspoon vanilla extract
1 tablespoon plus 1/2 tablespoon sugar (one tablespoon for the berries, and 1/2 tablespoon for the cream cheese mixture)
zest of half an orange
squeeze of fresh orange juice
Hull and cut the strawberries in half, length-wise and place in a large bowl with Grand Marnier, orange zest, juice and 1 tablespoon of the sugar. Toss to coat all the berries, then cover and place in the refrigerator for at least 1 hour (I left mine in for about 3 hours).
To make the cream cheese mixture, place the softened cream cheese in the bowl of a stand mixer (you can do all this with a hand mixer) and beat at medium speed until the cream cheese is smooth. Add in the sour cream, vanilla and sugar and continue to beat on medium-low speed until everything is mixed in and smooth. Refrigerate until needed.
For the tart crust:
1 1/2 cups all-purpose flour
1/2 cup confectioner’s sugar (powdered sugar)
1/4 tsp. salt
1 stick plus 1 tablespoon (9 tablespoons) very cold (or frozen) unsalted butter, cut into small pieces
1 large egg yolk
Put the flour, confectioners’ sugar and salt in a food processor and pulse a couple of times to combine. Scatter the pieces of butter over the dry ingredients and pulse until the butter is coarsely cut in–you should have some pieces the size of oatmeal flakes and some the size of peas. Stir the yolk, just to break it up, and add it a little at a time, pulsing after each addition. When the egg is in, process in long pulses–about 10 seconds each–until the dough, whisk will look granular soon after the egg is added, forms clumps and curds.
Turn the dough out onto a work surface and , very lightly and sparingly, knead the dough just to incorporate any dry ingredients that might have escaped mixing. Butter a 9-inch fluted tart pan with a removable bottom. Press the dough evenly over the bottom and up the sides of the pan, using all but one little piece of dough, which you should save in the refrigerator to patch any cracks after the crust is baked. Don’t be too heavy-handed–press the crust in so that the edges of the pieces cling to one another, but not so hard that the crust loses its crumbly texture. Freeze the crust for at least 30 minutes, preferably longer, before baking. Center a rack in the oven and preheat the oven to 375 degrees F.
Butter the shiny side of a piece of aluminum foil and fit the foil, buttered side down, tightly against the crust. (Since you froze the crust, you can bake it without weights.) Put the tart pan on a baking sheet to bake the crust for 25 minutes. Carefully remove the foil. If the crust has puffed, press it down gently with the back of a spoon. For a partially baked crust, patch the crust if necessary, then transfer the crust to a coking rack (keep it in is pan). To fully bake the crust: Bake for another 8 minutes or so, or until it is firm and golden brown. (Keep a close eye on the crust’s progress–it can go from golden to way too dark in a flash). Transfer the tart pan to a rack and cool the crust to room temperature before filling.
To Assemble:
Spread the cream cheese mixture evenly on the tart crust. Add the strawberries on top. Serve immediately and enjoy!