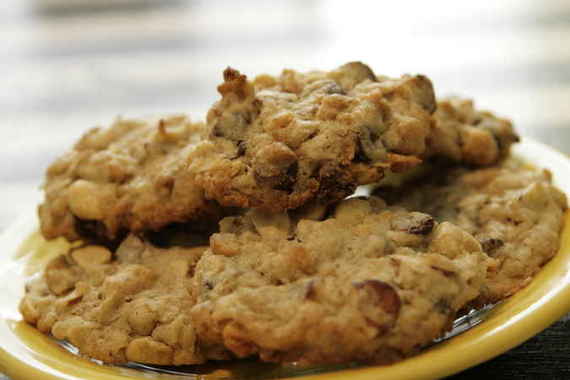
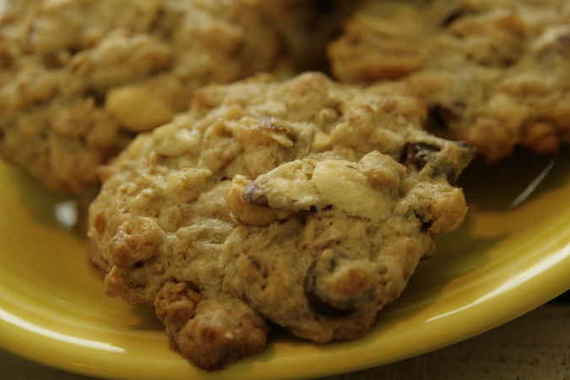
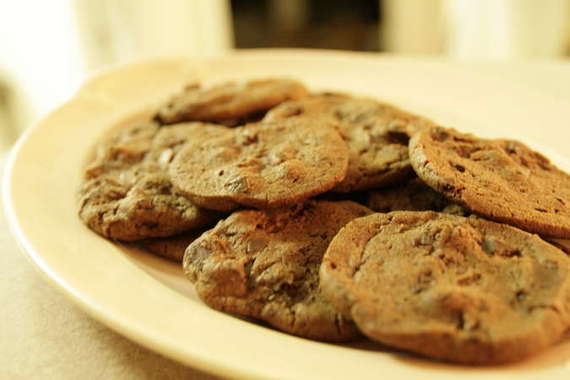
Well, let me just start off by saying- I’m thrilled. Really. Not only do I absolutely adore baking cookies, eating cookies, decorating cookies, giving cookies and everything possible to do with cookies, but I’m finally getting to bake cookies for Tuesdays with Dorie! This is the first real “cookie” recipe chosen (well, unless you count the very first TWD recipe, which was Shortbread…I guess you might count that, but I choose not to)!!! Groundbreaking!! Spectacular!! And what a doozy of a pick – Granola Grabbers, chosen by Michelle of Bad Girl Baking!! Honestly, I wasn’t expecting much….I mean, how good can they be? Granola…eh. Nuts…eh. Coconut…eh. Raisins…YUCK. You can see my attitude toward these cookies was less than positive…..at first!
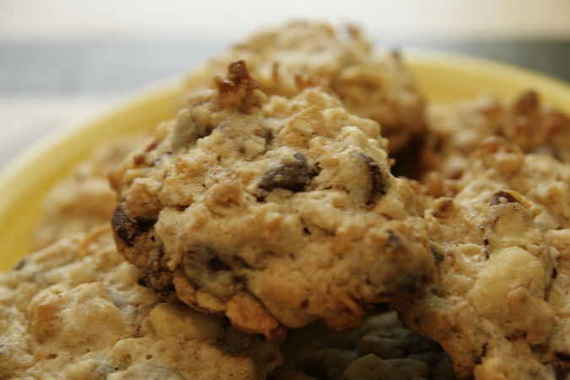
I decided to give these cookies a shot – of course I substituted chocolate chips for the raisins, duh! And they were delicious….hubby loved them!! The granola I used had a touch of cinnamon that went perfectly with the chocolate chips and peanuts! Incidentally, I did NOT send these cookies to work with hubby the next day…nope, these babies stayed safe at home with mama this time! In case you’re curious as to what’s in these, I’ll give you the gist: granola, chocolate chips, wheat germ (my first time using this – surprisingly a pleasant addition!), coconut, salted peanuts and almonds – really tasty combo, really. I was lucky enough to have my very good, long-time friend, Susan stop by for a visit the day I made these and she was kind enough to sample them and give her opinion. Her response was, “Mm, these are good! Good call leaving out the raisins..really good call.” Coming from Susan, I was thrilled.
This is a fantastic cookie recipe, really! Do me a favor and head on over to Michelle’s blog and get the recipe. You won’t be sorry – your kids/grandkids/parents/best friends/neighbors/boyfriends/girlfriends/whoever will be oh-so-glad you did!! Thanks Michelle, you bag girl baking, you! 😉

Ok, so my nephew doesn’t exactly call me “Fun Aunt Amy” so much as just “Amy”, but hey, its my blog and I’ll write what I want! These past 3 days, hubby and I have had the pleasure (and at times, a nice new form of birth control) of having our nephew (my sister’s kid) come and stay with us before he has to go back to school in the fall. I thought it would be a nice “last vacation” for him, considering our apartment has an awesome pool, we have a Wii, lots of fun games and puzzles, and then there’s the fact that “Fun Uncle Joel” lives here (forget “Fun Aunt Amy” – when Joel walks through the door, “Fun Aunt Amy” could dance around with underwear on her head and would go completely unnoticed!). But alas, Uncle Joel has to work during the day, so it was up to “Fun-at-one-time-but-starting-to-get-a-little-dull Aunt Amy” to do the entertaining.

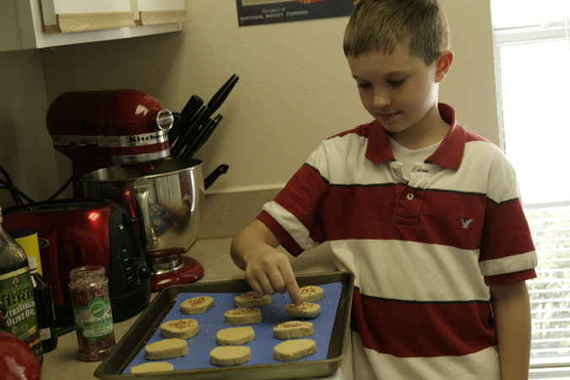
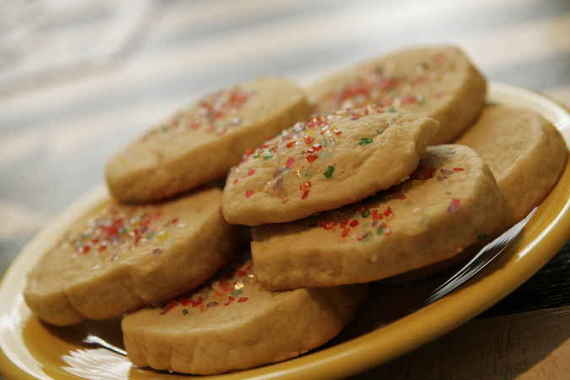
This kid has an undying love for sugar cookies – forget chocolate chip or even brownies….its always sugar cookies. Everytime. So I decided making cookies would be a fun activity for us to do together. Naturally, I turned to my baking Bible – Baking From My Home To Yours by Dorie Greenspan. And lemme tell ya – these cookies rocked! I don’t even like sugar cookies – but these were nice and chewy (mainly because I sliced them pretty thick instead of rolling out the dough and using cookie cutters) and had a great flavor. Needless to say, my nephew loved them (which I had been a little worried about – he’s a bit of a picky eater!) – he polished them off pretty quick!

He was in charge of the sugar sprinkles – don’t they look pretty?! I think they gave them the perfect touch of sparkle! (And I have to say, the dough was pretty tasty in itself – we helped ourselves to a few little “scraps” along the way!)
Grandma’s All-Occasion Sugar Cookies
-Baking From My Home To Yours
2 cups all-purpose flour
1/2 tsp. salt
1/2 tsp. baking powder
1 stick plus 2 tablespoons (10 tablespoons) unsalted butter, at room temperature
1 cup sugar (I used half white, half light brown)
1 large egg
1 large egg yolk
1 tsp. pure vanilla extract
Sugar or cinnamon sugar, for dusting (optional)
1. Center a rack in the oven and preheat the oven to 350 degrees. Line two baking sheets with parchment or silicone mats.
2. If you are making roll-out cookies, working with one packet of dough at a time, roll out the dough between sheets of plastic wrap or wax paper to a thickness of 1/4 inch, lifting the plastic or paper and turning the dough over often so that it rolls evenly.
3. Lift off the top sheet of plastic or paper and cut out the cookies — I like a 2-inch round cookie cutter for these. Pull away the excess dough, saving the scraps for rerolling, and carefully lift the rounds onto the baking sheets with a spatula, leaving 1 1/2 inches between the cookies. (This is a soft dough and you might have trouble peeling away the excess or lifting the cutouts; if so, cover the dough, chill it for about 15 minutes and try again.)
4. After you’ve rolled and cut the second packet of dough, you can form the scraps into a disk, then chill, roll, cut and bake.
5. If you are making slice-and-bake cookies, use a sharp thin knife to slice the dough into 1/4-inch-thick rounds, and place the rounds on the baking sheets, leaving about 1 1/2 inches of space between the cookies.
YUM! These were so good, and SO easy to make – it took no time (of course, I did have help making these!)!!
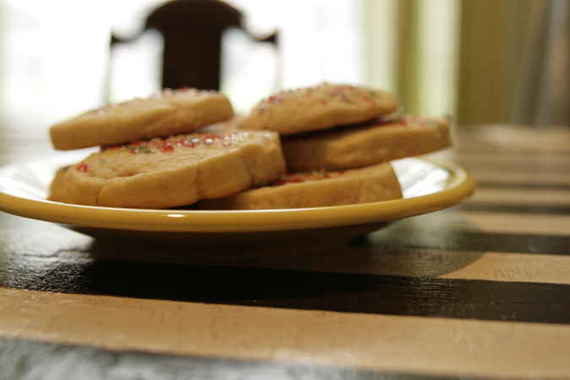
And here we go (drumroll, please!) my nephew took this last picture himself!! Aren’t you impressed?! I know I certainly am! Looks like we have a photographer in the making!
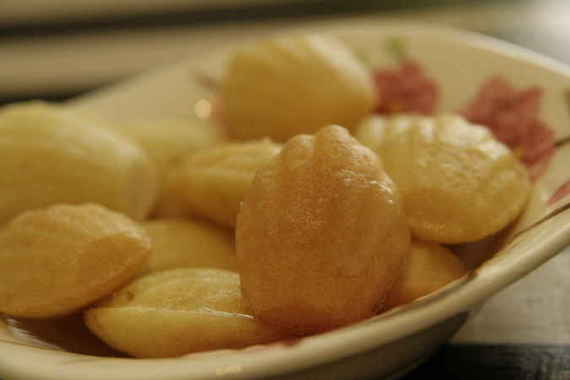
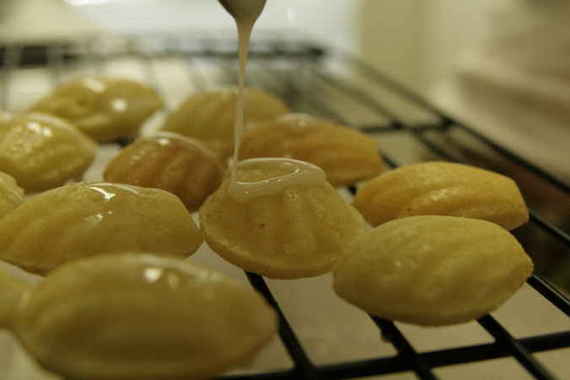
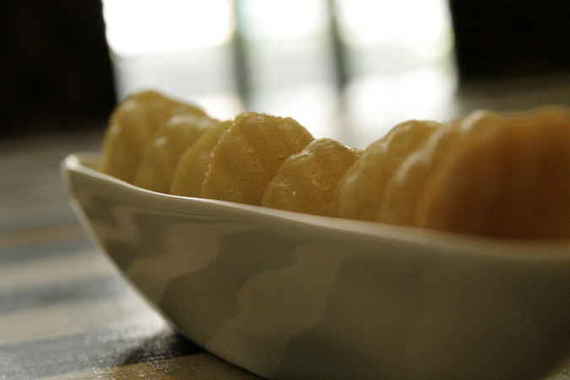
I felt fancy this week. I don’t really have a lot of experience with making French desserts- as a matter of fact, I can’t think of a time I’ve ever made a French dessert (don’t I sound like a little country bumpkin?!). So when Tara of Smells Like Home chose Traditional Madeleines for this week’s TWD recipe, I was thrilled. I had never (gasp!) had a madeleine before, but I had always wanted to try them. This was my chance to be fancy in the kitchen! Yee haw!
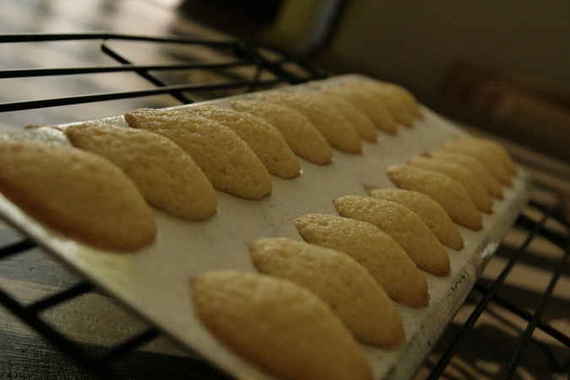
I think I may have filled my molds a little too full (thus, giving them too much of a “puff”), but honestly, I kinda liked them better that way. I chose to kick up the flavor a little by topping the warm madeleines with a lemon glaze (super YUM). But I was sure to try them fresh out of the oven without the glaze, and they tasted wonderful plain, as well. I also chose to make mini madeleines, because that’s the pan that I had, plus, I really enjoy all things “mini”.
Traditional Madeleines
2/3 cup all-purpose flour
3/4teaspoon baking powder
Pinch of salt
1/2cup sugar
Grated zest of 1 lemon
2 large eggs, at room temperature
2 teaspoons pure vanilla extract
3/4stick (6 tablespoons) unsalted butter, melted and cooled
Confectioners’ sugar, for dusting (I omitted this)
Whisk together the flour, baking powder and salt.
Working in a mixer bowl, or in a large bowl, rub the sugar and lemon zest together with your fingertips until the sugar is moist and fragrant. Add the eggs to the bowl. Working with the whisk attachment, or with a hand mixer, beat the eggs and sugar together on medium-high speed until pale, thick and light, 2 to 3 minutes. Beat in the vanilla. With a rubber spatula, very gently fold in the dry ingredients, followed by the melted butter. Press a piece of plastic wrap against the surface of the batter and refrigerate it for at least 3 hours, or for up to 2 days. This long chill period will help the batter form the hump that is characteristic of madeleines. (For convenience, you can spoon the batter into the madeleine molds, cover and refrigerate, then bake the cookies directly from the fridge; see below for instructions on prepping the pans.)
GETTING READY TO BAKE: Center a rack in the oven and preheat the oven to 400 degrees F. Butter 12 full-size madeleine molds, or up to 36 mini madeleine molds, dust the insides with flour and tap out the excess. Or, if you have a nonstick pan (or pans), give it a light coating of vegetable cooking spray. If you have a silicone pan, no prep is needed. Place the pan(s) on a baking sheet.
Spoon the batter into the molds, filling each one almost to the top. Don’t worry about spreading the batter evenly, the oven’s heat will take care of that. Bake large madeleines for 11 to 13 minutes, and minis for 8 to 10 minutes, or until they are golden and the tops spring back when touched. Remove the pan(s) from the oven and release the madeleines from the molds by rapping the edge of the pan against the counter. Gently pry any recalcitrant madeleines from the pan using your fingers or a butter knife. Transfer the cookies to a rack to cool to just warm or to room temperature.
If you are making minis and have more batter, bake the next batch(es), making certain that you cool, then properly prepare the pan(s) before baking.
Just before serving, dust the madeleines with confectioners’ sugar.
makes 12 large or 36 mini cookies
serving: Serve the cookies when they are only slightly warm or when they reach room temperature, with tea or espresso.
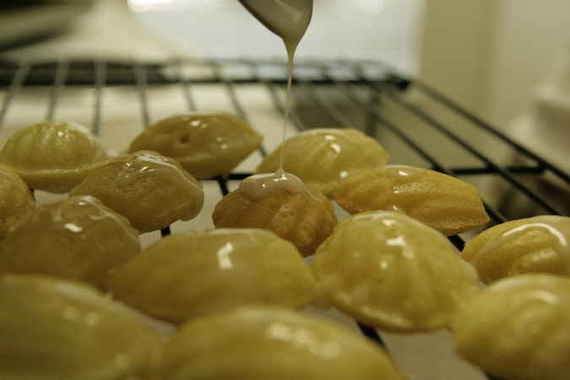
These were so delicious, and so incredibly simple to make (and that means a lot, coming from the Ambassador of “Oops”!). I really enjoyed making these, and felt so fancy eating them! These cookies are perfect as is, but if you would like to try them with the lemon glaze (which, in my opinion makes them even more perfect!), mix the juice of one large lemon with approx. 1/2 cup confectioner’s sugar and drizzle over warm cookies.
Last Wednesday was a very exciting day. Something arrived in the mail that would bring some much needed excitement and adventure into my baking-life. I practically ran all the way to the mail box, then ran all the way back to my apartment to open my precious parcel. I tore through the packaging, and there it was – in the bottom of the box – Baking: From My Home to Yours by Dorie Greenspan. Oh joy! I sat there on my couch and read through the entire book like it was a novel. What a cookbook! The pictures are absolutely stunning and the description Dorie gives of each dessert – well, let’s just say I was practically drooling. I went through with post-it notes and marked each recipe that I wanted to try. Needless to say, my book is crammed full of little yellow post-its now!
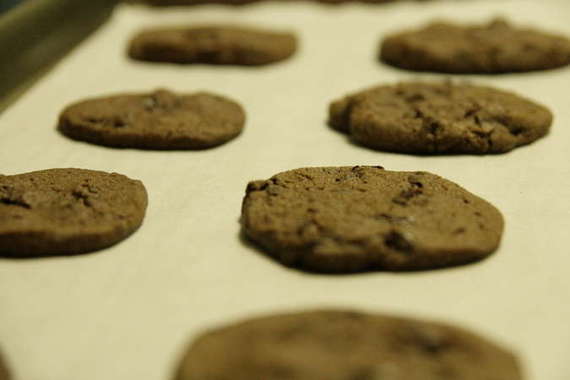
After careful consideration, I decided the first recipe I wanted to try was the World Peace Cookies – they sounded so unique and dainty. They were a breeze to make, and the results were delicious! A light, crunchy chocolate-chocolate chunk cookie (almost resembling a shortbread) that goes wonderfully with a glass of milk or your morning coffee. It was a nice break from the chewy, cakey cookies I’d been making so much of lately. As Dorie mentions in her description of the cookies, there’s a strong salty taste in the cookie – its perfect for those of us who love the combination of salty and sweet! As I suspected, Dorie didn’t let me down. I can’t wait to dig deeper into her book and create lots more of these delicious desserts!
World Peace Cookies
1 ¼ cups all-purpose flour
1/3 cup unsweetened cocoa powder
½ teaspoon baking soda
1 stick plus 3 tablespoons unsalted butter at room temperature
2/3 cup (packed) light brown sugar
¼ cup sugar
½ teaspoon fleur de sel or ¼ teaspoon fine sea salt
1 teaspoon pure vanilla extract
5 ounces bittersweet chocolate, chopped into chips
Sift the flour, cocoa and baking soda together.
Working with a stand mixer, preferably fitted with paddle attachment, or with a hand mixer in a large bowl, beat the butter on a medium speed until soft and creamy. Add both sugars, the salt and vanilla extract and beat for 2 more minutes. Turn off the mixer. Pour in the dry ingredients, drape a kitchen towel over the stand mixer to protect yourself and your kitchen from flying flour and pulse the mixer at low speed about 5 times, a second or two each time. If there is still a lot of flour on the surface of the dough, pulse a couple times more; if not, remove the towel. Continuing at low speed, mix for about 30 seconds more, just until the flour disappears into the dough – for the best texture, work the dough as little as possible once the four is added, and don’t be concerned if the dough looks a little crumbly. Toss in the chocolate pieces and mix only to incorporate. Turn the dough out onto a work surface, gather it together and divide it in half. Working with one half at a time, shape the dough into logs that are 1 ½ inches in diameter. Wrap the logs in plastic wrap and refrigerate them for at least 3 hours (the dough can be refrigerated for up to 3 days or frozen for up to 2 months. If you’ve frozen the dough, there’s no need to defrost it before baking – just slice the logs into cookies and bake the cookies 1 minute longer).
Getting ready to bake:
Center a rack in the oven and preheat the oven to 325 degrees. Line two baking sheets with parchment paper.
Using a sharp, thin knife, slice the logs into rounds that are ½ inch thick (the rounds are likely to crack as you slice them – don’t be concerned, just squeeze the bits back onto each cookie). Arrange the rounds on the baking sheets, leaving about 1 inch between them.
Bake the cookies one sheet at a time for 12 minutes – they won’t look done or be firm, but that’s the
way they should be. Transfer the baking sheet to a cooling rack and let the cookies rest until they are only just warm, at which point you can serve them or let them reach room temperature.


