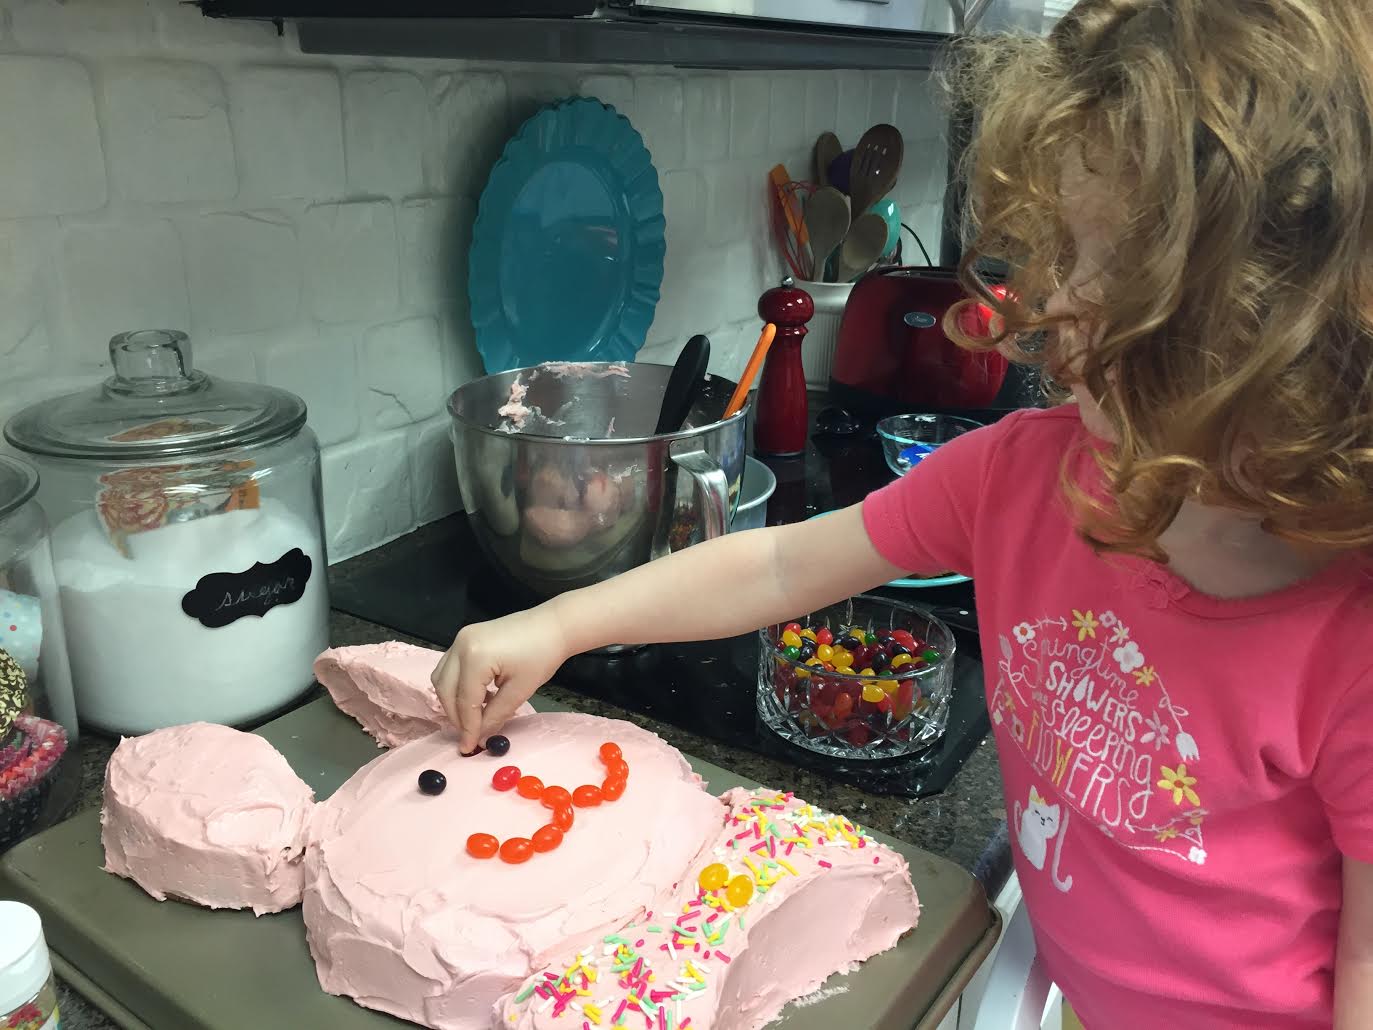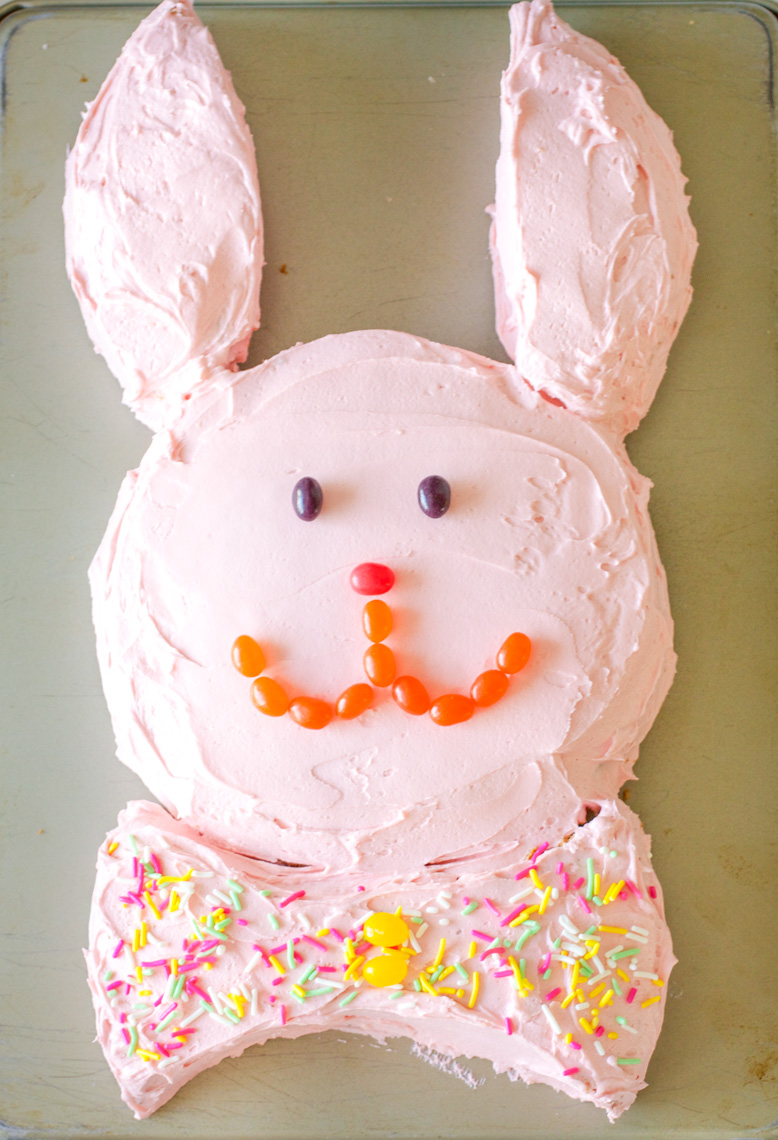
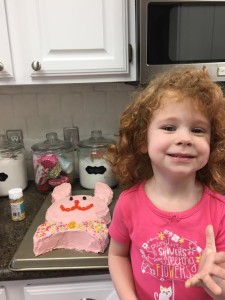
I don’t get tired of making this cake. Every Easter, this is what we do. We dye eggs, we read Easter books, we make an Easter bunny cake. Tradition! My mom always made this cake with us; now I make it with mine. It really couldn’t be easier- just a little bit of cutting, then simply frost and decorate! It’s so much fun for the kids to help with- the sprinkles, the jellybeans…such fun!
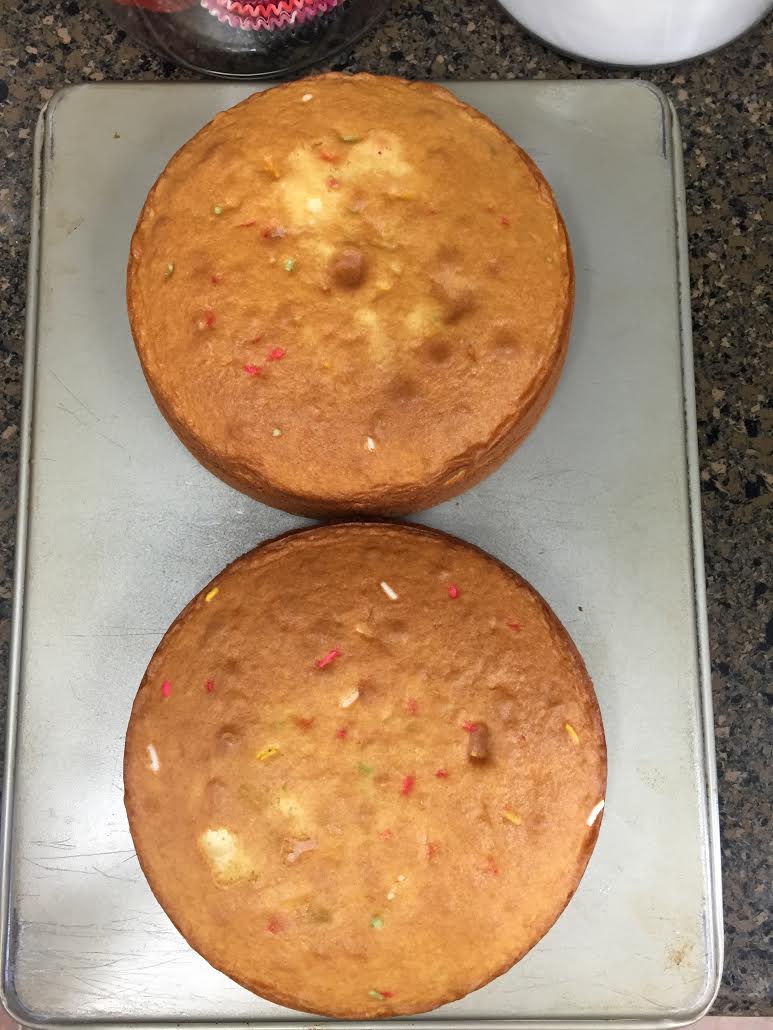
Just start with 2 round cakes (mine are 8 inches). I’m not including a recipe, because I take the easy road and just use a boxed mix. Funfetti is always good. 😉
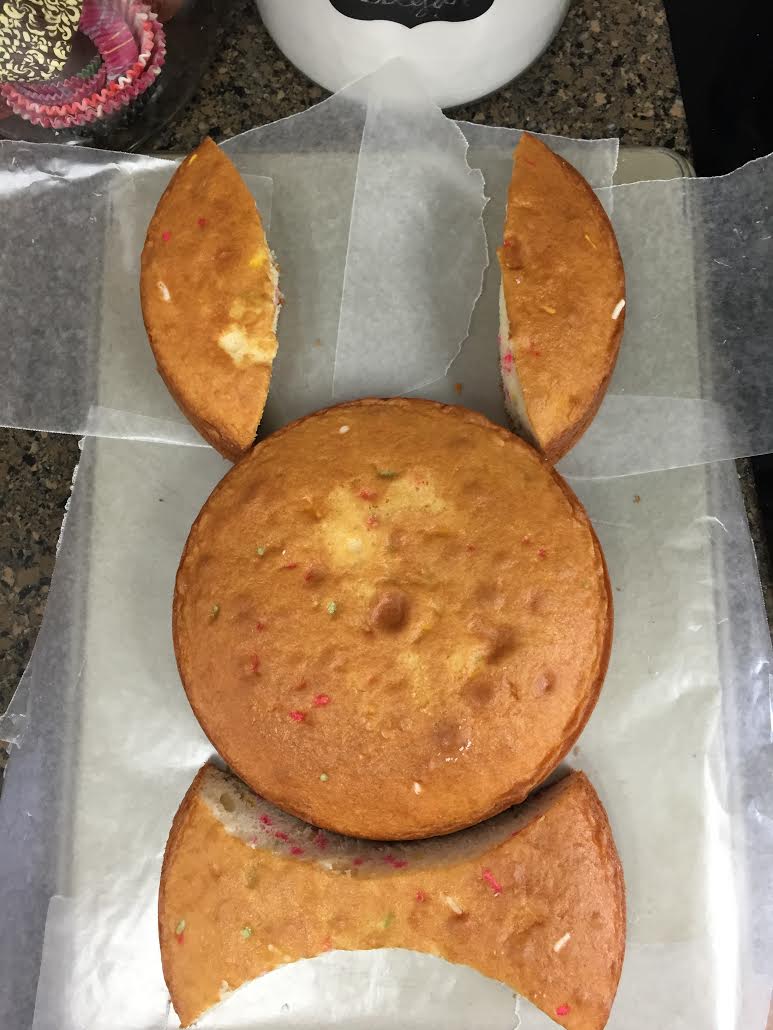
Then cut 2 football-shaped pieces out of each side. These pieces will be the ears and the bow tie. Then, simply frost and decorate! Simple and fun!

Here’s my frosting recipe:
Vanilla Buttercream
1 cup (2 sticks) unsalted butter, softened
6 cups confectioners’ sugar
1/4 cup milk
1 1/2 teaspoons vanilla extract
1/4 teaspoon almond extract
pink food coloring, if desired
Place the butter in a large mixing bowl. Add 4 cups of the sugar and then the milk, vanilla, and almond extract. On the medium speed of an electric mixer, beat until smooth and creamy, about 3-5 minutes. Gradually add the remaining sugar, 1 cup at a time, beating well after each addition (about 2 minutes), until the icing is a good spreading consistency. You may not need to add all of the sugar (or if you like it thicker, feel free to use more). Stir in a few drops of food coloring until the desired color is reached. Use the icing at room temperature and store in the refrigerator. If you’re not using it right away, allow it to set out at room temperature for 30 minutes to an hour before use.

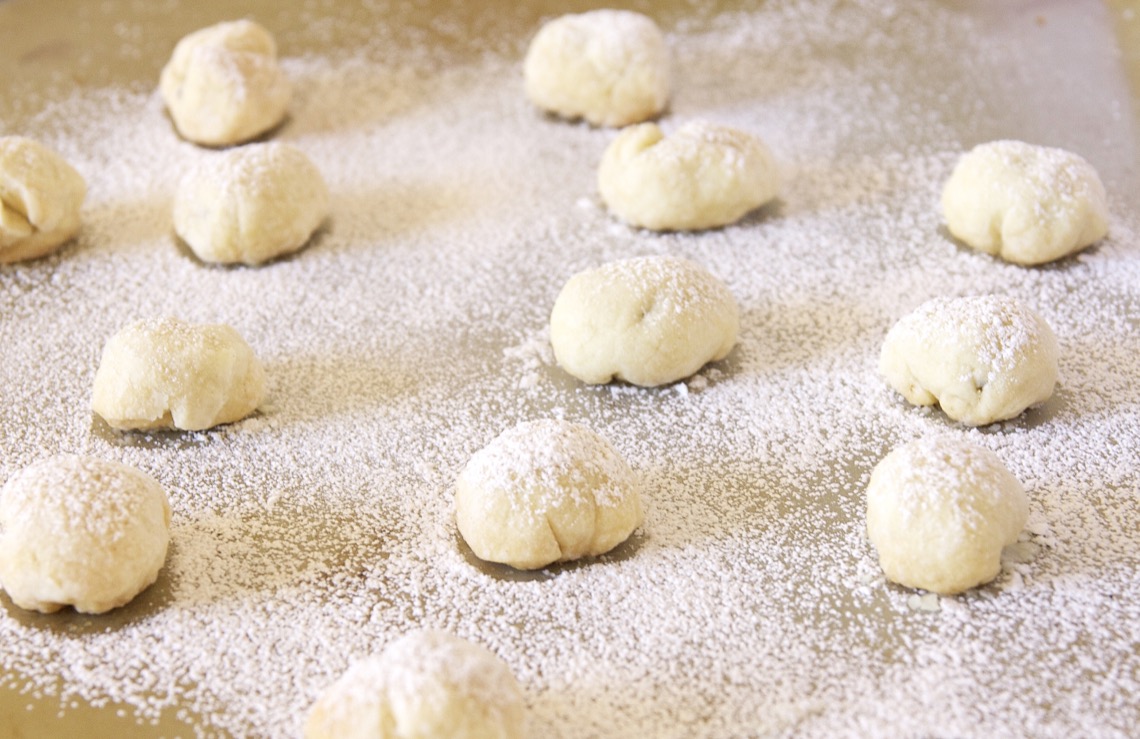
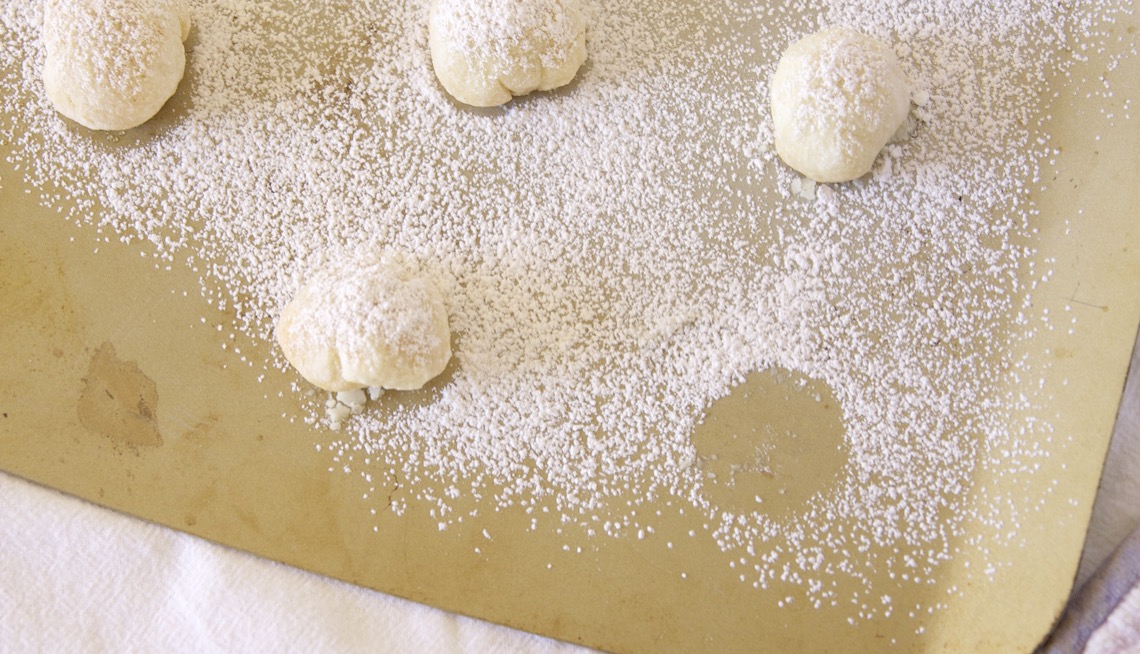
Have leftover pie crust? Stuff it with chocolate chips, roll it in powdered sugar, and bake it into flaky, chocolaty little snow balls. This is a GREAT one for the kids to help with!
I love to look back at my pre-children self and giggle at all the ‘from-scratch’ stuff I used to have time to make (pie crusts, biscuits, etc). I’m aaaall about the shortcuts nowadays; not because making pie crusts from scratch is hard, but because WHO WANTS TO CLEAN THAT FOOD PROCESSOR?! All those little parts to wash…. Anyway, I’ve recently discovered the AWESOMENESS of Trader Joe’s frozen pie crusts. My gosh, they’re amazing. I seriously could not make anything better from scratch. I use them all the time. Only thing is, they’re huge. Like, deep DEEP dish size. So I always have lots of extra dough just lying around.
Recently, I was making a quiche and ended up with lots of extra dough. Then I remembered this idea and decided I had the perfect opportunity to bake cookies with Cassidy. We rolled out the dough and used a round biscuit cutter to cut out circles, then Cassidy put the chocolate chunks in the center of each one. Then we closed them up, made them into little balls, rolled them in powdered sugar, and popped them in the oven! So easy and SO yummy! Like tiny little bites of chocolate pie! I can’t wait for the holidays to get here so we can make these again in different variations! Cinnamon-sugar, cherry, raspberry…the possibilities are endless!
Chocolate-Stuffed Pie Crust Cookies
Leftover pie crust dough
Chocolate chunks or chips
Powdered sugar
Preheat oven to 350 degrees. Take all the scraps of leftover dough and form into a ball. Roll out to about 1/8-1/4 inch thickness and cut into circles using a biscuit cutter or a small glass. Place 3 or 4 chocolate chunks or chips in the center of each circle and close up like a pouch. Form into a ball and roll in powdered sugar.
Place on a baking sheet and bake for 8-10 minutes, until golden brown. Sprinkle with more powdered sugar, if desired. These are great right out of the oven, or at room temperature.
Adapted from Averie Cooks
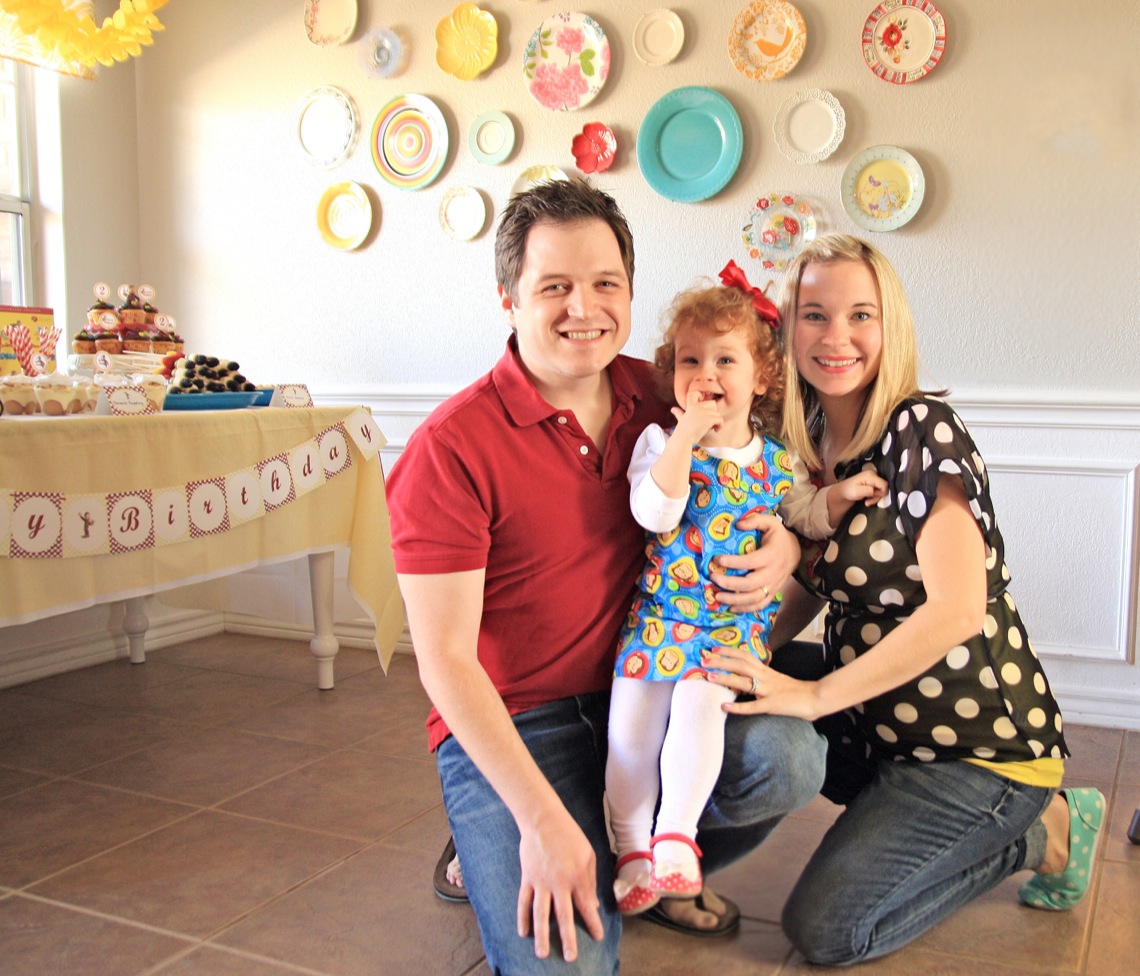
Well, it’s happened. My little sweet pea has turned TWO. So, so hard to believe! I was proud of myself this year, though. Unlike last year, I didn’t blubber and cry and make a huge fuss over my baby growing up too fast. Honestly, I’m enjoying watching her learn and grow so much, I can’t help but sit back and just enjoy the ride. She’s too much fun to cry over!
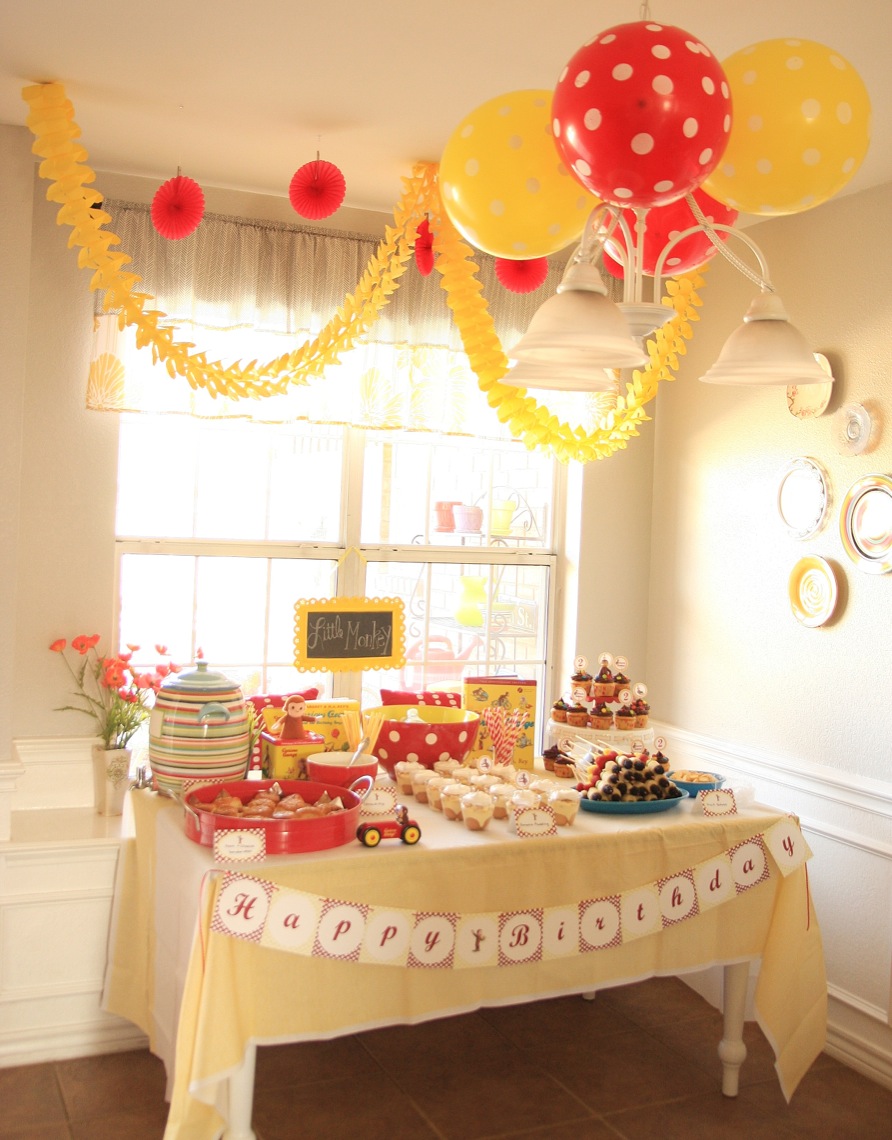
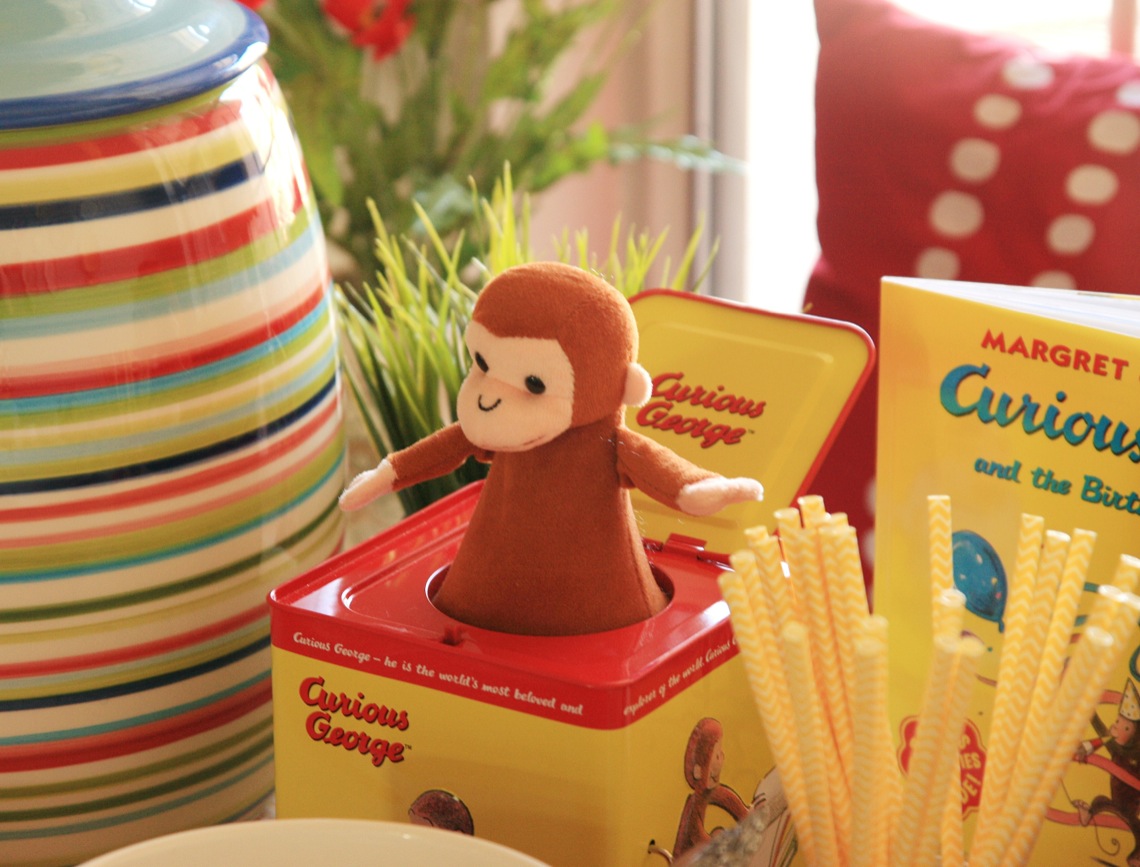
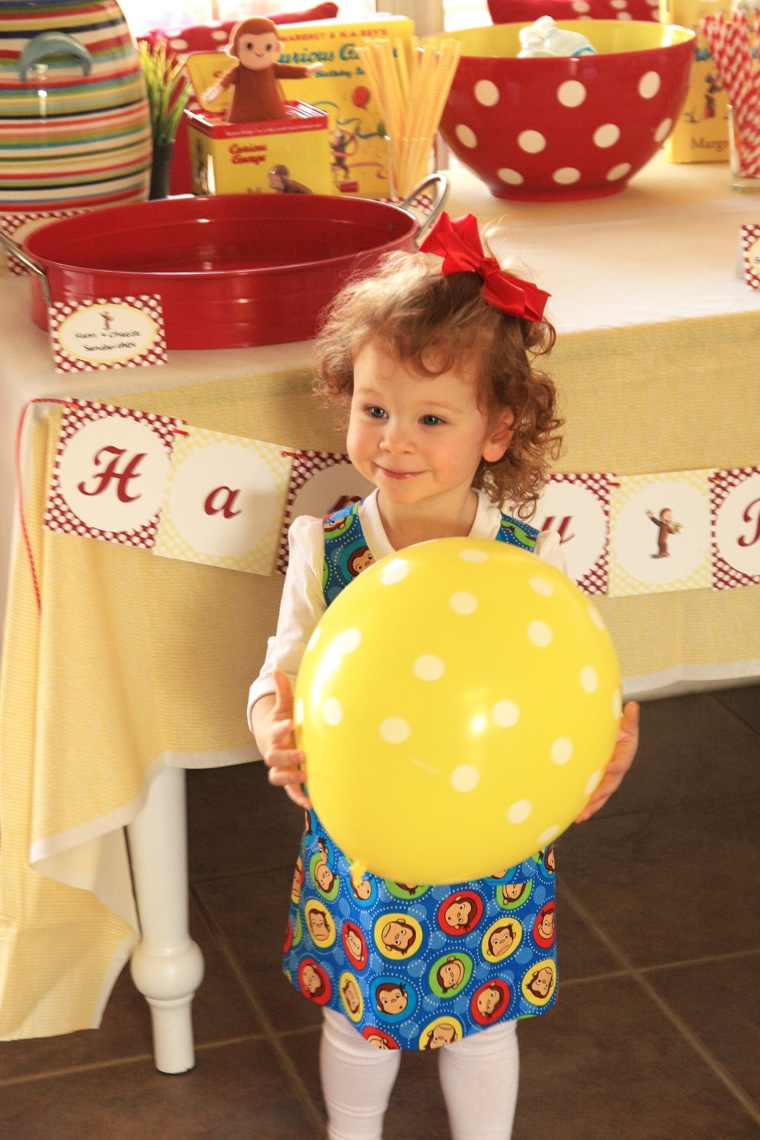
Since Cassidy’s absolute favorite thing in the world right now is Curious George (seriously, how precious is that show?!), we decided a Curious George birthday party was just the thing! I seriously had so much fun planning this one. Thanks to HomeGoods, Zulily, and other various places, I had all kinds of cute Curious George toys and books to decorate the table with. We decided to do a small family party and I think Cassidy had a blast. Here’s a few pictures from our fun day.
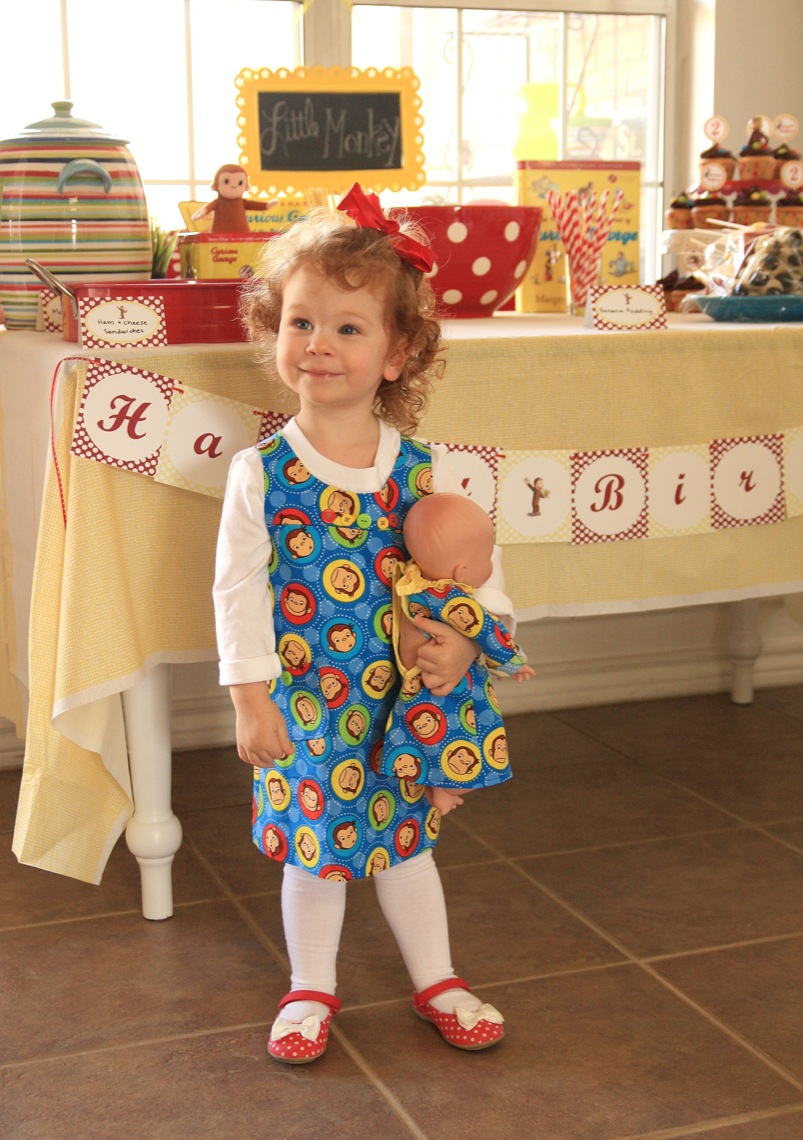
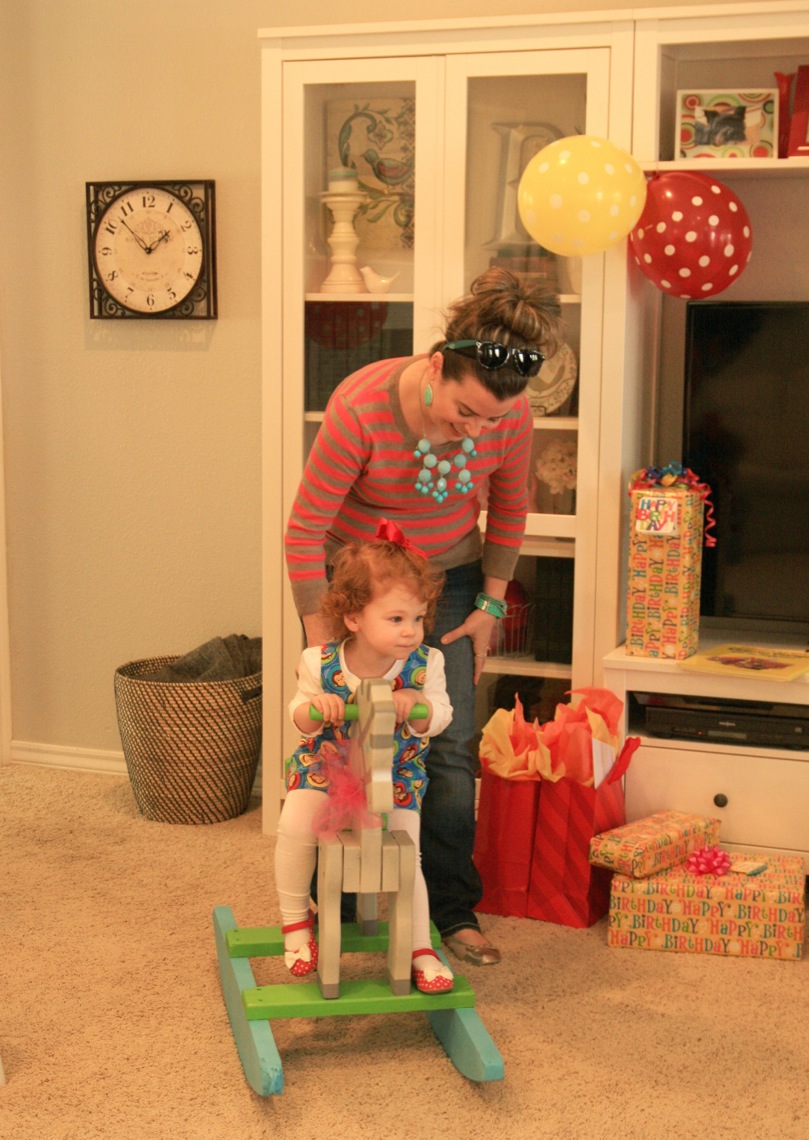
My mom found some cute material and made Cassidy (and Baby Doll) their very own Curious George dress! Adorable doesn’t even begin to describe it!

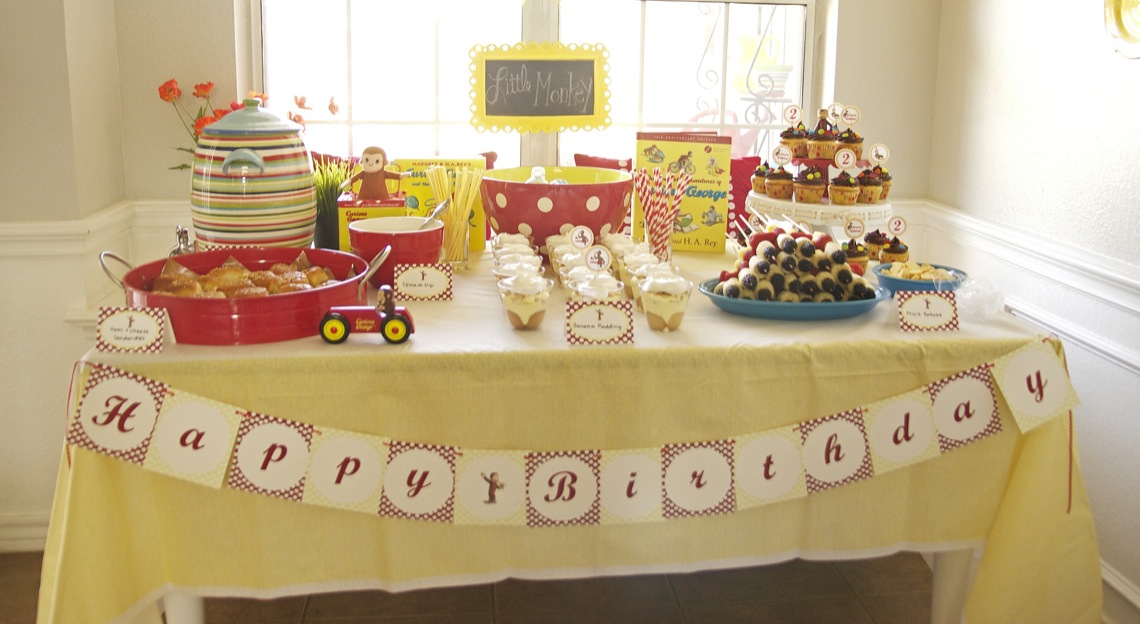
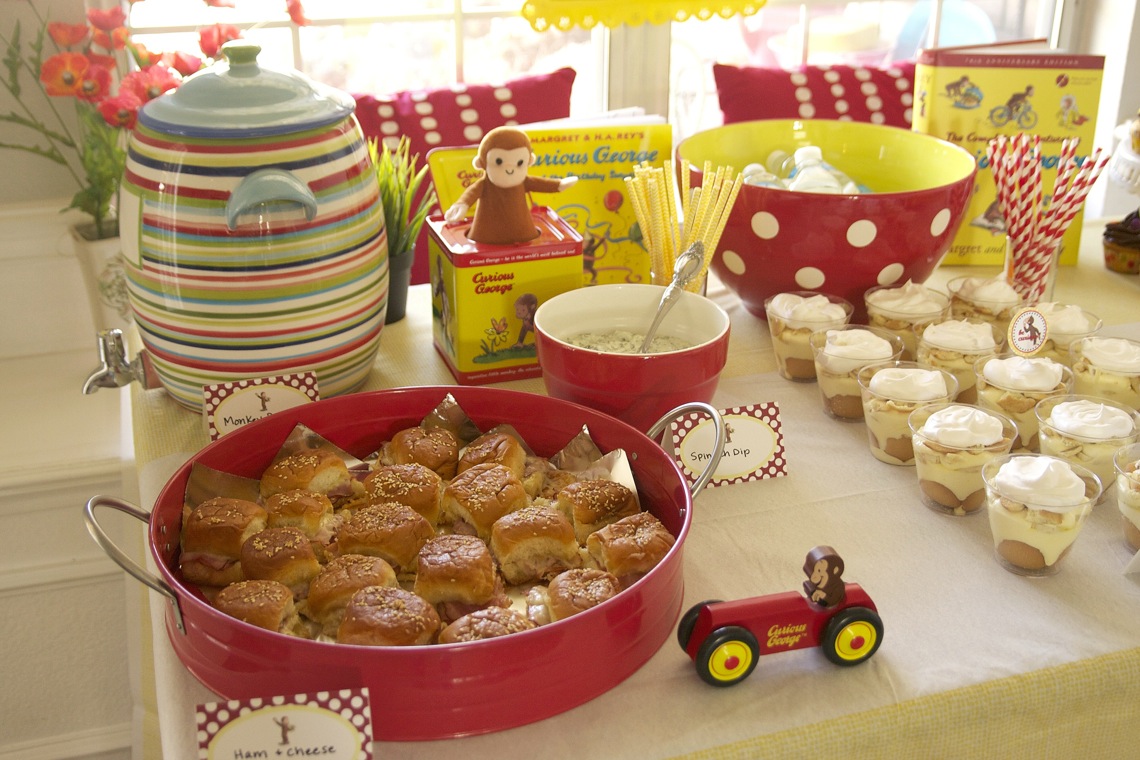
Since the party was late afternoon, we didn’t do a whole meal, just snack food. On the menu:
Hot ham and cheese sliders
Fruit kabobs
Spinach dip
Individual banana pudding cups
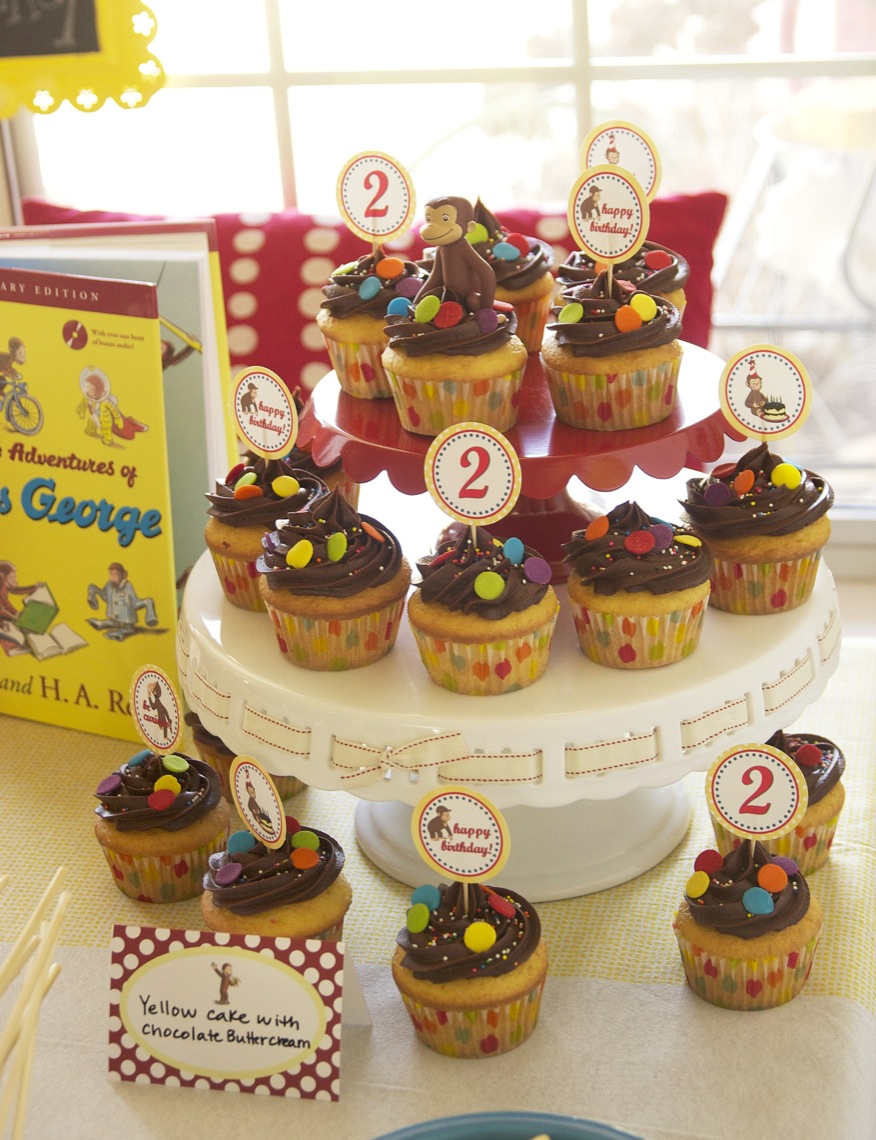
Yellow cupcakes with chocolate buttercream
Monkey punch (Pineapple Orange Banana juice with ginger ale)
Cheese crackers
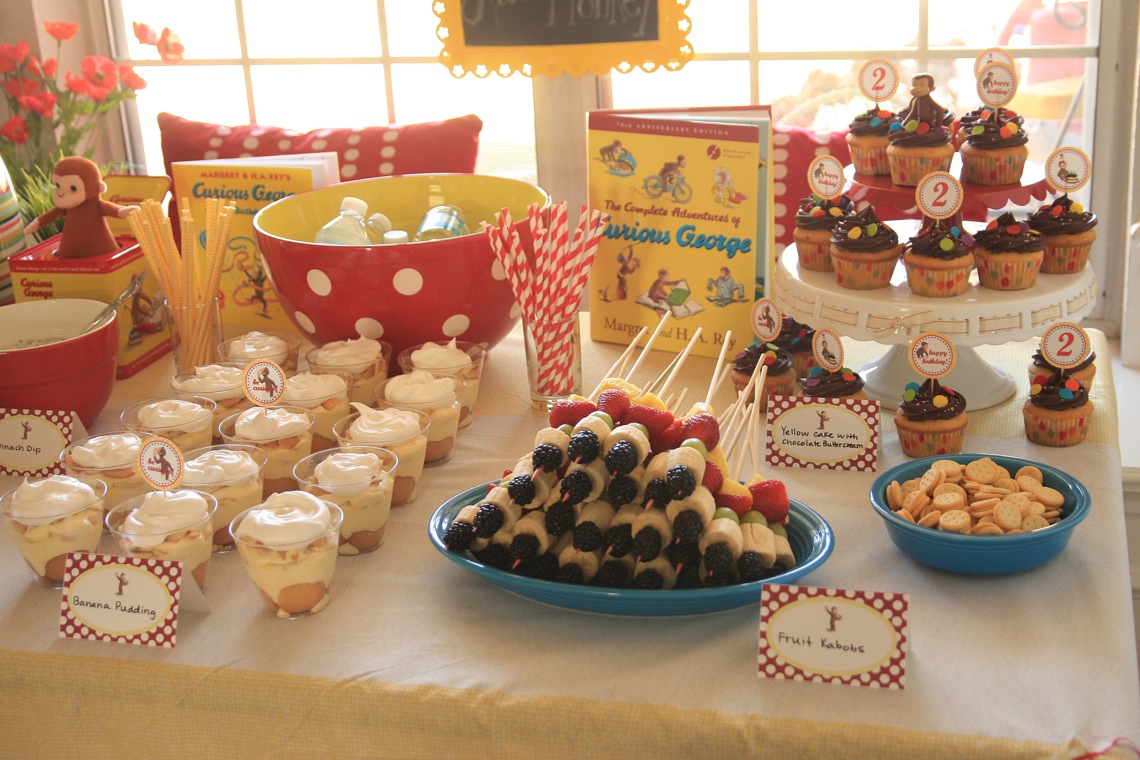
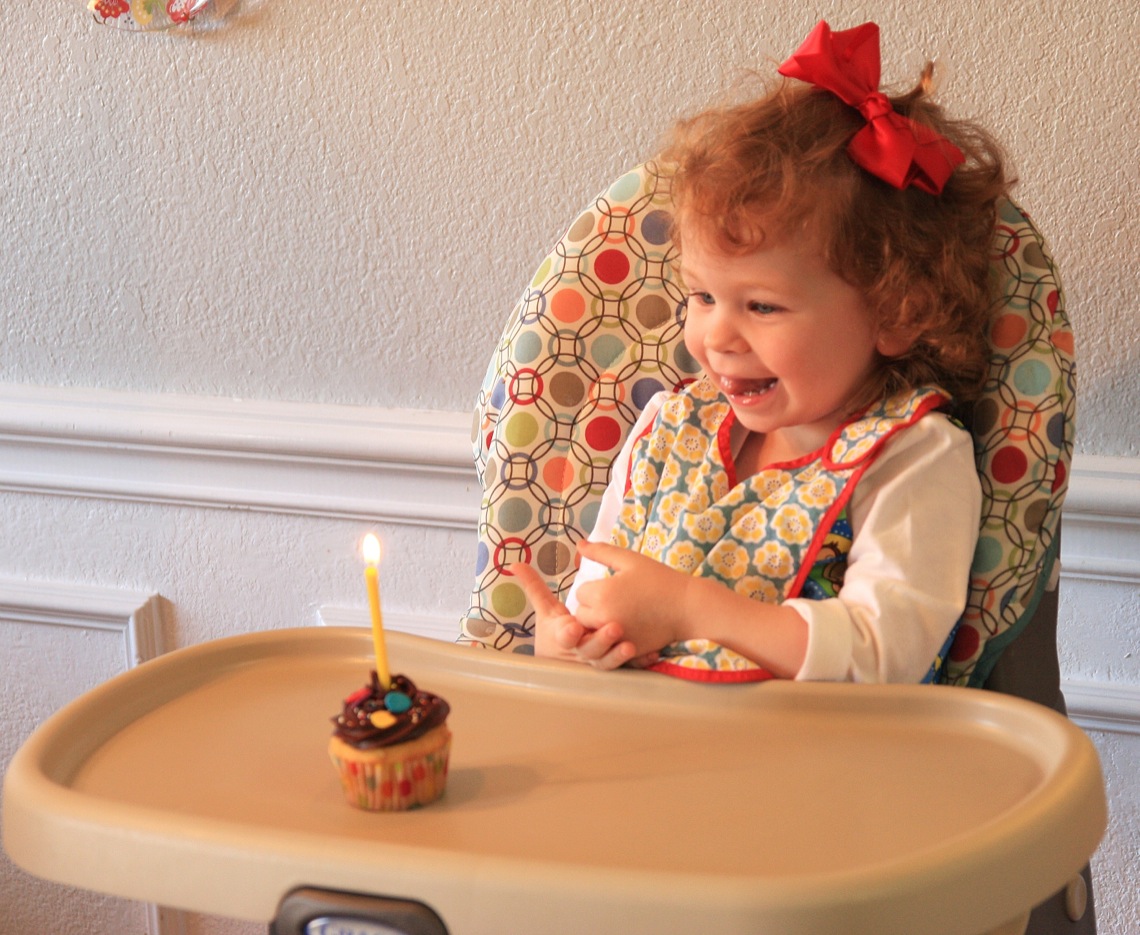
I was so pleased with how everything turned out and everyone (especially the birthday girl) had a really good time. I know I’ll always look back on this day with such happy memories! Happy birthday to my sweet TWO year old!
Party Info:
Invitations, ‘Happy Birthday’ banner, and food labels – SmashCakeandCo on Etsy
Cupcake toppers – Confetti Prints on Etsy
Curious George figurine and birthday candles – Amazon
Jumbo confetti sprinkles – Amazon
Curious George jack-in-the-box and hardback book- Zulily
Wooden Curious George car – HomeGoods

Here is the second of the two kid-friendly recipes I promised this week. I’ve actually been making these a lot, simply because we get tired of plain old sandwiches for lunch. Joel works from home, so I struggle with trying to think up tasty, quick lunches all week.
I don’t make these too often, because, clearly, they’re not the healthiest, but when you’ve got a teething toddler who doesn’t have any interest in eating all of the sudden, you’ll do what you can to make meals fun. However, I do use the reduced fat crescent rolls for these instead of the regular. Cassidy still hasn’t gotten past pulling her’s apart and eating the meat and cheese separate- but hey, whatever keeps her happy, I guess. 🙂

Ham and Cheese Roll-Ups
1 roll refrigerated reduced fat crescent roll dough, such as Pillsbury
mustard
8 slices deli ham
8 slices cheddar or swiss cheese
Preheat the oven to 350 degrees. Unroll the crescent dough and spread a little mustard on each triangle. Lay a slice of ham, then cheese on each triangle, then roll up, starting with the wide end. Place on a baking sheet and bake for about 11-13 minutes, until golden brown. Serves 2-3 as a lunch; or 6-8 as a snack.
Recipe source: Gooseberry Patch’s Kids in the Kitchen cookbook
Since Cassidy came along, I’ve done a few kid-friendly posts here and there and even some homemade baby food, but I still get lots of requests for more kid recipes. Honestly, since she’s still so young, I haven’t done all that many recipes just for kids; mainly because Cassidy just eats whatever we eat. If I cook kale, butternut squash, and quinoa soup for dinner, that’s what Cassidy eats. However, since my little bitty baby is quickly growing into a spunky, energetic, opinionated LITTLE GIRL (for heaven’s sake, I’m going to burst into tears just typing that!), I’ve been making more kid-friendly, fun meals for her.
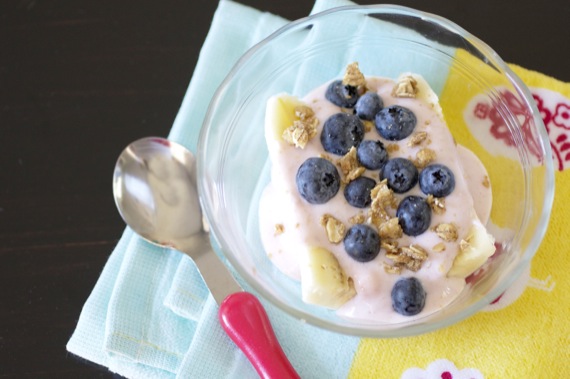
This week, I’ll share two such recipes with you. Starting with this breakfast banana split. How cute is that?! Last Christmas, my uncle and aunt sent Cassidy and me a cute little cookbook just for kids, which is adorable. Cassidy loves to flip through the pages and look at each picture and recipe and say, “mmm!!” as she takes a pretend bite with her chubby little fingers. I seriously adore this kid.

Anyway, it’s sort of easy for me to get into a breakfast rut with Cassidy. And when the same old things start getting old, recipes like this are a welcome, adorable change of pace! Just layer sliced bananas with your favorite yogurt, then top with blueberries and a bit of granola. You can use any fruits you like and as many toppings as you want! The sky’s the limit!
Let your kiddo choose what toppings she wants, then let her enjoy her own special creation for breakfast! Such fun!!
Breakfast Banana Splits
half a banana, sliced in half length-wise
1 4 or 6-oz. individual-size cup yogurt (we like strawberry greek yogurt)
blueberries
granola
Lay the sliced banana in a small bowl and top with yogurt, blueberries, and granola. Let your kids help you put it all together and create their own masterpiece! Serves 1.
Recipe source: adapted from Gooseberry Patch Kids in the Kitchen
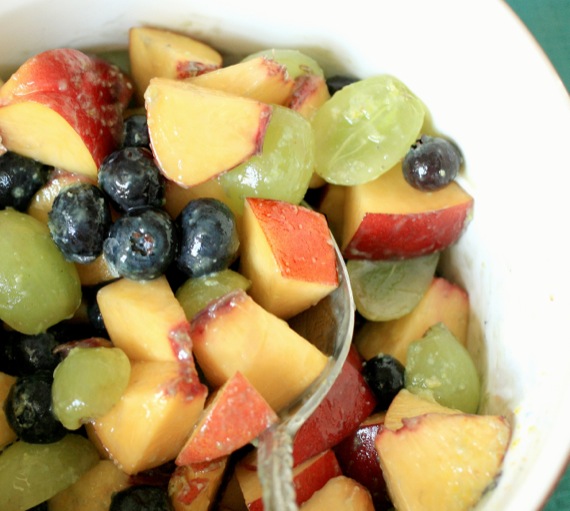
Well, after making this (about 80 times now), I can tell you my fruit salad will never be the same! I used to struggle with fruit salads. Unless it was this version, they were just “ok” to me, but never something I’d go out of my way to make or eat. Who knew all it takes is one little secret ingredient to make your fruit salad sing?! 🙂
My sister told me about this little “tip” a long time ago and thought it sounded disgusting. I imagined overly-sweet, gloppy fruit salad. Not appetizing. However, one evening, I had some really under-ripe, really “blah” nectarines that I wanted to make a fruit salad with, only, they had basically zero taste. I remembered a box of vanilla pudding mix in my pantry and tossed in a small spoonful. WOW, what a difference! It brought out all kinds of flavor from the sad little nectarines, added a faint sweetness, and made everything taste deliciously ‘vanilla-y’ . We inhaled this fruit salad, then I proceeded to make it again, and again, and again.
Secret Ingredient Fruit Salad
2 nectarines or peaches, cut up into chunks
1/2 pint blueberries
handful green grapes, cut into halves
1/2 pint strawberries, hulled and sliced
1 tablespoon instant vanilla pudding mix **
Toss fruit and pudding mix. Chill for at least 30 minutes before serving. Serves 4-6.
**feel free to use more pudding mix if you like it really ‘vanilla-y’. I prefer just a hint.
Recipe source: my sister’s coworker

Well, friends, the time has finally come for our little family of 3 to take the plunge and do something highly stressful, chaotic, yet very important and hopefully very memorable…
…take our first vacation. That’s right. Very soon, we’ll load up our little CR-V and head for the Texas coast. We’ll be renting a small condo on the beach for 3 nights and I’d be lying if I said I wasn’t totally nervous.
What if I forget the blankie/paci/sippy cups?
What if Cassidy hates the beach?
What if she’s not able to sleep in the pack-n-play at night?
What if I don’t properly sunscreen her and she gets sunburned?
What if she steps on a jelly fish?
What if a creepy sunken ship washes up on shore and my worst nightmare comes to life??
Ok, so that last one is probably a bit of a stretch, but you get the idea. I’m a vacation-stresser anyway (meaning, I usually ruin our vacations with my constant worrying that something will go wrong, when what I don’t realize is that my worrying IS the something that goes wrong.), so naturally when a 19 month-old is involved, I take the stressing to a whole new level. However, I’ve done a good bit of researching tips for taking toddlers to the beach and I feel like I’ve got most of my bases covered, at least. So I guess we’ll just cross our fingers and hope for the best! 🙂

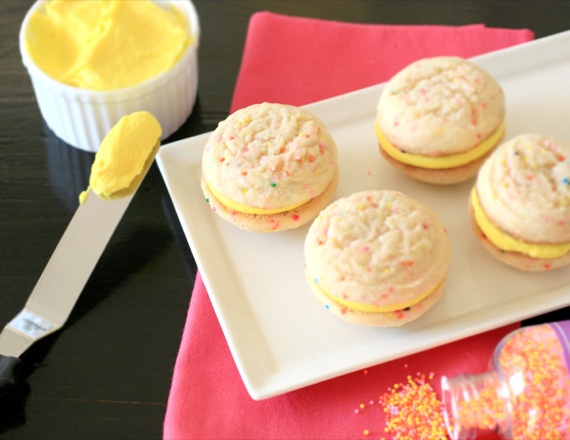
Now, onto these cookies! Who doesn’t love sandwich cookies, right? Soft, chewy cookies filled with sweet, buttery frosting? Yes, please! Our music minister and his family recently celebrated 10 years of service at our church- that’s a big deal! So the church threw them a little party and the choir volunteered to bake cookies. I didn’t want to bake just ANY old cookies for Matt and Caryn, and I decided nothing screams ‘celebration’ like funfetti, so these funfetti sandwich cookies were born! They disappeared pretty quickly, too, so I guess people liked them! Caryn, Matt- if you’re reading this, congratulations again! We love you!
Funfetti Sandwich Cookies
2 cups all-purpose flour
1/2 teaspoon salt
1/2 teaspoon baking powder
1 stick plus 2 tablespoons (10 tablespoons) unsalted butter, at room temperature
1 cup sugar
1 large egg
1 large egg yolk
1 teaspoon pure vanilla extract
1/4 teaspoon almond extract
Colorful sprinkles
For the buttercream:
1 stick unsalted butter, at room temperature
3-4 cups confectioners’ sugar
1 teaspoon vanilla extract
1/4 teaspoon almond extract
pinch salt
splash milk (optional)
yellow food coloring
Preheat the oven to 350 degrees. Line two baking sheets with parchment paper or silicone mats.
Whisk the flour, salt, and baking powder together.
Working with a stand mixer fitted with a paddle attachment, or with a hand mixer in a large bowl, beat the butter at medium speed until smooth. Add the sugar and continue to beat for about 2 minutes, until the mixture is light and pale. Add the egg and yolk and beat for another minute or two; beat in the vanilla and almond extract. Reduce the mixer speed to low and steadily add the flour mixture, mixing only until it has been incorporated. Slowly stir in the sprinkles.
Using a teaspoon or small cookie scoop, scoop out the dough, roll into balls, and place on the baking sheets; press down gently to flatten slightly.
Bake the cookies for 8-9 minutes. The cookies should feel firm, but they should not color much, if at all. Cool completely.
To make the buttercream, beat the butter on medium speed until smooth. Add in the powdered sugar a little at a time until desired consistency is reached (it should be fairly think, but easily spread or piped.). Add in the vanilla extract, almond extract and salt. If icing is too thick, stir in a little milk. Gently stir in as much food coloring as you want to make it the desired color of yellow.
Pipe or spread the buttercream on half of the cookies; place other half of the cookies on top to make sandwiches. Makes approximately 17-20 sandwich cookies.
Recipe source: cookie recipe adapted from Dorie Greenspan; buttercream is a Sing For Your Supper original

Let’s say hypothetically, you’ve had a day from you-know-where; maybe hypothetically, your sweet, precious little angel had somehow transformed into a squealing, screaming, whining, hitting little devil. [hypothetically] Perhaps the little tike dropped her toy espresso maker on your foot at just the right angle, so as to make each step you take after that excruciatingly painful. And then, perhaps, upon trying to give her a hug, the little sweetheart tried to slap your face away and ended up cutting your gums with her adorable little fingernail. HYPOTHETICALLY. 12 screaming tantrums, 4 thrown sippy cups, and 1 disappointingly short nap later, it’s dinner time. Joy. And since your precious cherub is teething, getting her to eat anything is darn near impossible. And don’t forget the fact that you let her eat Chick-fil-a nuggets for lunch, so whatever you cook needs to be healthy. Go ahead, supermom. Get in that kitchen and make some magic! And don’t forget to whistle a happy tune while you do it! 😉
Luckily, I have recipes like this one on standby. Quick, easy, and good for you. My 3 requirements. And when I’ve had the (ahem, hypothetical) day from you-know-where (by the way, my freaking foot is still throbbing…), I can pull this dinner off in less than 30 minutes. Remember that awesome roasted broccoli I just shared with you? Well guess what- it’s GREAT on pizza! And Cassidy loves it! Mommy: 1; Rotten day: 0!

Roasted Veggie Pizza
4 personal-sized thin pizza crusts (I use store-bought, but feel free to make your own)
1 head broccoli, cut into bite-sized pieces
1 red bell pepper, sliced thinly
1 heaping cup button mushrooms, sliced
salt and pepper
olive oil
pizza sauce
mozzarella cheese
Preheat oven to 400 degrees and line a baking sheet with foil. Toss the broccoli, red pepper, and mushrooms in a little olive oil and spread in a single layer on the baking sheet. Sprinkle with salt and pepper and roast for about 20 minutes, until vegetables are soft.
Make your pizzas: spread each pizza crust with a thin layer of pizza sauce. Top with roasted veggies, then cheese. Bake in the preheated oven (still at 400) for about 8 minutes, until crust is crisp and cheese is melted. Serve immediately.
Recipe source: Sing For Your Supper original

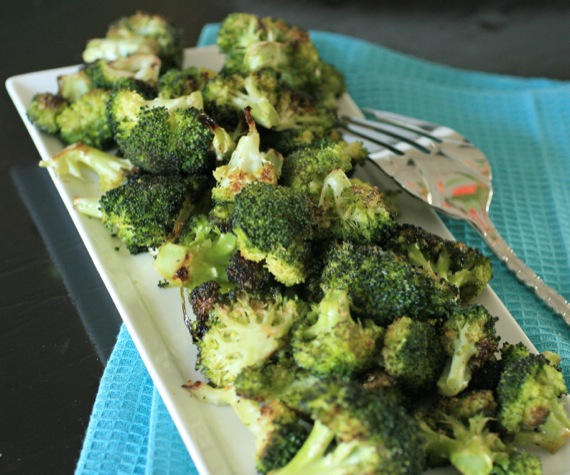
Moms: do you have trouble getting your little ones to eat their veggies? Well don’t give up! Green vegetables like peas, spinach, green beans, broccoli, kale, etc are so, so good for our growing kiddos! I understand the struggle – up until I started cooking it like this, I could never get Cassidy to eat her broccoli. She loves peas and green beans, but it seemed like no matter what I did, she wouldn’t touch broccoli. Probably because it tastes like flavorless mush by the time I finish steaming it. But broccoli fixed this way? She can’t get enough and I’m thrilled!
It’s SO simple- toss your broccoli florets with a little olive oil, salt, and pepper and roast it at 400 for about 15-20 minutes. That’s it and it’s WONDERFUL! The broccoli gets nice and soft, but it’s still bursting with flavor. I’m a huge fan of roasting any vegetables since it brings out the flavor so beautifully, and I have to say, I think roasted broccoli is my new favorite.
…just make sure you burn a candle or open a window since we all know how stinky it is to cook broccoli. A small price to pay for a delicious, healthy side dish, right? 😉
Roasted Broccoli
1 head fresh broccoli, cut up into bite-size pieces
olive oil
salt
pepper
Preheat oven to 400 degrees. Toss the broccoli with the olive oil, then spread onto a baking sheet lined with foil (this makes cleanup a snap!) and sprinkle with salt and pepper. Roast for about 15-20 minutes, turning the broccoli over halfway through cooking. Edges should be slightly dark and broccoli will be tender when done. Serves 2-3 as a side dish.
Recipe source: Sing For Your Supper original, although, this is not a new concept 😉

Ok, so these look more like meatloaf…spheres.
I make meatloaf all the time- I love it, Joel loves it, Cassidy loves it….we all love meatloaf. But sometimes it’s fun to play around with a classic. What’s more fun than having your own personal little meatloaf sphere muffin? I don’t know how it is at your house, but at my house, everyone wants the end piece of the meatloaf- it’s the piece with the most “crust” on the outside. By making muffins, every single piece is the end piece! Huzzah!

Meatloaf Muffins
1 pound lean, ground beef
1 egg, beaten
1 15-oz. can diced tomatoes
1 teaspoon salt
1/2 teaspoon pepper
1 teaspoon worcestershire sauce
half an onion, chopped
1 green pepper, chopped
1/2 package Saltine Crackers, crushed (probably about 10 crackers or so)
ketchup for the tops, if desired
Preheat the oven to 375 degrees. Grease a muffin pan that holds 12. In a small skillet over medium-high heat, sauté the onion and pepper with a little butter or olive oil until soft; about 5 minutes. Set aside to cool.
In a large bowl, combine the ground beef, egg, tomatoes, salt, pepper, worcestershire, onion and pepper, and saltine cracker crumbs (I find the best way to do this is with my hands). Place some of the meat mixture in each greased muffin cup and bake for about 35 minutes, until a nice crust forms on the tops. Top with ketchup before serving, if desired. Makes about 12 muffins.
Recipe source: Sing For Your Supper original