
This week’s recipe was chosen by Melissa of Life In A Peanut Shell. Unfortunately, I actually didn’t have a very memorable experience with these brownies. It’s too bad, too, because they sounded fantastic. Maybe I did something wrong…who knows. They looked pretty, though! 🙂

These were supposed to be marbled, but my cheesecake batter was so runny, I thought it best to just leave it be. I sort of liked seeing the two distinct layers, though. The sour cream topping was really nice, too- I’ll probably use that for future cheesecake recipes. I think what I didn’t like about these was the dense fudginess of the brownie layer – it was just too fudgy for me, believe it or not. BUT – as always, I’m still really glad I tried these. They were tasty overall….just not something I’d make again, probably. Better luck next time, though! Head on over to Melissa’s blog and check out the recipe – these just might be your cup of tea!

Honestly, I wasn’t really sure what to expect with this week’s recipe. I mean, the title sounds great – ‘Brownie Buttons’ – pretty cute, right? But I’m super-duper picky when it comes to brownies and I wasn’t sure how I’d feel about mini-mini brownies. A lot of members had said this recipe didn’t quite do it for them, or that they stuck, or the glaze wasn’t good…I didn’t have very high hopes.

But, as it turned out, these were really, really good! I don’t know about everyone else’s, but mine had sort of a chewy, almost crunchy outside, with a really soft, fudgy inside….I wan’t expecting that! I loved the texture of these! Instead of the white chocolate glaze (I can’t stand white chocolate), I used a little dusting of powdered sugar, which really went well with the bitterness of the chocolate. These were just all around good- fun to make, fun to eat and super cute to boot!

Thanks to Jayma of Two Scientists Experimenting in the Kitchen for picking this week’s recipe – check out her blog and get the recipe. These would be so fun for kids or to take to work – easy and fun to eat! I’ll definitely be keeping this recipe close by!

I don’t know what it is that makes shooting decent pictures of brownies darned near impossible for me. You’d think I’d gradually get better at it, but no, these are just as bad, if not worse, as some of my other brownie shots from the past. Alas, I am too lazy to try again, so these ugly-looking brownie pictures are getting posted, like it or not!
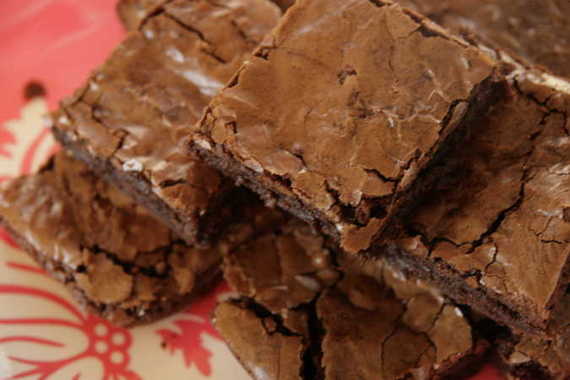
I realize it’s been two weeks since I posted a TWD recipe…I know…I’m bad. BUT – here I am again, back on the TWD wagon! This week’s recipe is Tribute to Katherine Hepburn Brownies (love her!), chosen by Lisa of Surviving Oz, who was the winner of a little logo contest we held over at TWD. Yay Lisa! I’ve been waiting on someone to pick these brownies for a couple of reasons, A.) I love me some brownies! and B.) I LOVE Katherine Hepburn! My favorite of her movies is The Philadelphia Story with Cary Grant and Jimmy Stewart – have you watched this? If you haven’t, you SHOULD!! It’s one of the great classics, in my opinion! Some others of hers that I just love are Bringing Up Baby, Adam’s Rib, and Woman of the Year. This woman didn’t make a bad movie! I was happy to make her special brownies and as I ate them, I imagined good old Kate baking these in her kitchen…”these brownies are just delicious, rally they are…rally..”.
I know the pictures are the epitome of suck, but really, they were some of the best brownies I’ve ever eaten! If you like fudgy brownies, these are for you, my friend!! Visit Lisa’s blog and get the recipe – make Katherine’s brownies and watch her movies…a great night, in my opinion!! Enjoy!!
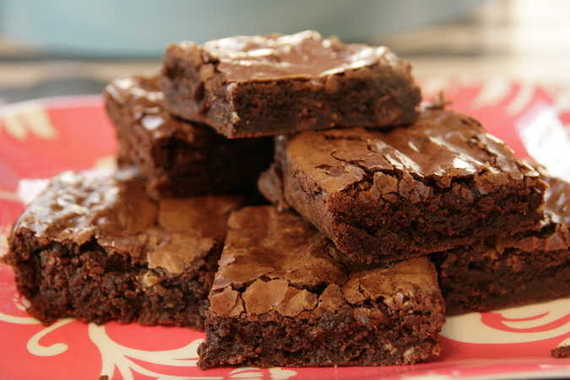
Ok, so you know how once I made that comment about how I have yet to find a brownie recipe as good as the boxed kind? Well, here it is. I’m thrilled. It seems like any “from scratch” brownie recipe I’ve made turns out with a thick, sugary crust on the top (yes, even Dorie’s recipes have turned out that way for me) that I always end up picking off – and it makes for a rather unsightly brownie. This recipe is perfect because you melt the sugar and butter together, thus giving you a paper-thin crust on top – which is what you want with a brownie. Yay!!
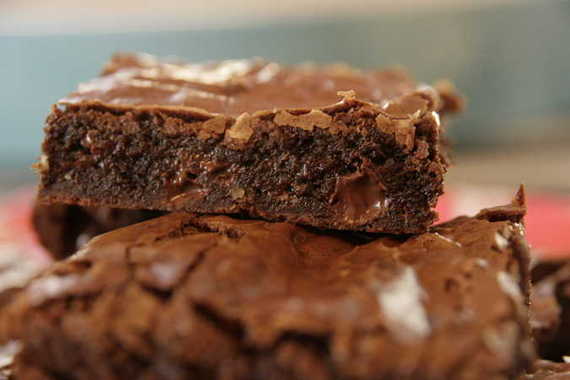
Let me just tell you – these brownies blew me away…rocked my socks off…made me wanna slap my mama (as Jess would say). They were GOOD. I took it a step further by adding a drop of peppermint extract and threw in some Andes mint chips along with the chocolate chips. Mmmm MMM! I have an undying love for all things mint/chocolate and these brownies are my new go-to “mint-chocolate-craving” recipe! I’ll probably use this brownie recipe for the rest of my life, too!

Fudgy. Chewy. Chocolatey. Minty. Need I go on? Do yourself a big favor and make these brownies TODAY!
Guaranteed Fudge Brownies
-King Arthur Flour (this is a great website with tons of recipes- check it out!)
1 cup (2 sticks) unsalted butter
2 1/4 cups sugar
4 large eggs
1 1/4 cups Dutch-process cocoa (regular cocoa is fine too)
1 teaspoon salt
1 teaspoon baking powder
1 teaspoon espresso powder, optional
1 tablespoon vanilla extract
1 1/2 cups All-Purpose Flour
2 cups chocolate chips
*I added about 1/4 teaspoon peppermint extract, 1/2 cup Andes mint chips and used half of the amount of chocolate chips called for
Directions
Preheat the oven to 350°F. Lightly grease a 9″ x 13″ pan
In a medium-sized microwave-safe bowl, or in a saucepan set over low heat, melt the butter, then add the sugar and stir to combine. Return the mixture to the heat (or microwave) briefly, just until it’s hot (about 110°F to 120°F), but not bubbling; it’ll become shiny looking as you stir it. Heating this mixture a second time will dissolve more of the sugar, which will yield a shiny top crust on your brownies.
While the sugar heats a second time, crack the 4 eggs into a bowl, and beat them with the cocoa, salt, baking powder, espresso powder, and vanilla till smooth. Add the hot butter/sugar mixture, stirring until smooth.
Add the flour and chips, again stirring until smooth. Note: If you want the chips to remain intact in the baked brownies, rather than melting in, let the batter cool in the bowl for about 20 minutes before stirring in the chips.
Spoon the batter into a lightly greased 9″ x 13″ pan. Bake the brownies for about 30 minutes, until a cake tester inserted into the center comes out clean, or with just a few moist crumbs clinging to it. The brownies should feel set on the edges, and the center should look very moist, but not uncooked. Remove them from the oven and cool on a rack before cutting and serving.
* I actually got the idea to make these from a fellow food blogger, but I don’t remember who. If you see this, please let me know who you are so I can give you credit! 🙂
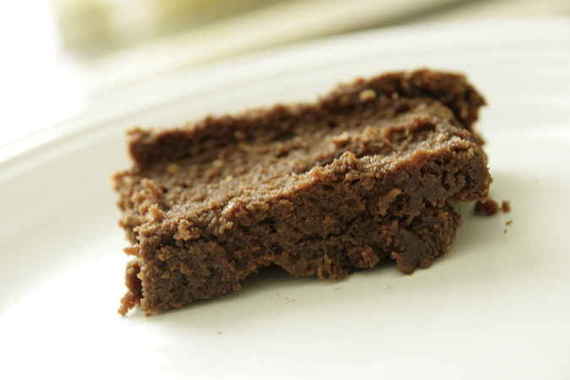
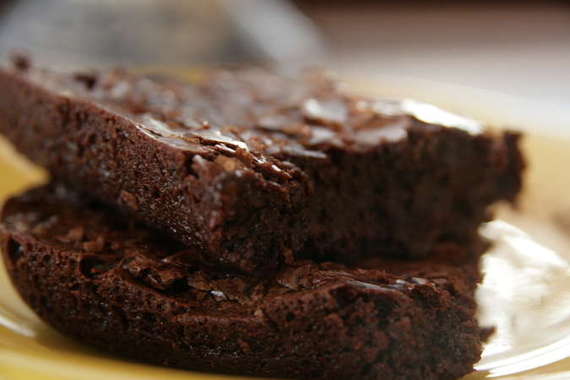
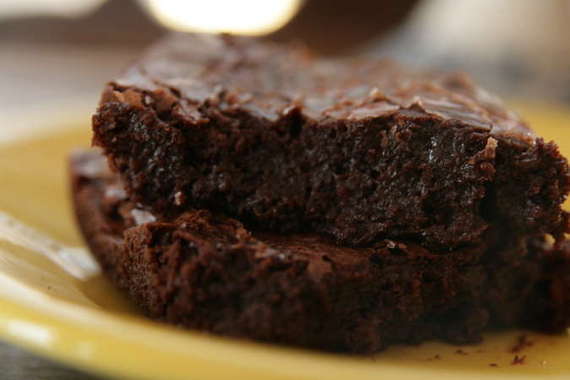
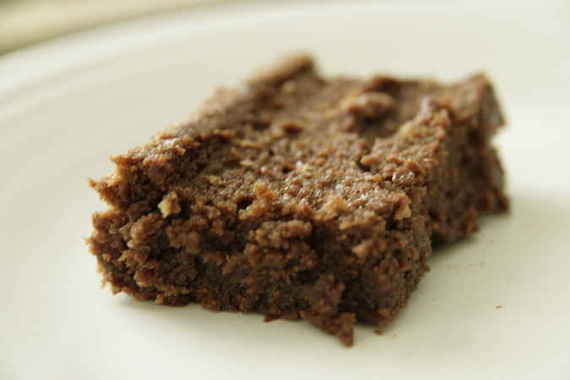
This week’s TWD recipe was French Chocolate Brownies chosen by Di of Di’s Kitchen Notebook. I have to say – these are some pretty unusual brownies. Granted, Dorie originally intended for them to be more of a cake than brownies, so the texture is a bit different from what I’m used to. However, these were pretty darn tasty and we really enjoyed them! I left out the raisins (Of course -blech!) and pulled them out of the oven a little early – because that’s how I like my brownies – GOOEY! I also added a shot (or less) of Godiva Liquor to the batter, just because I felt like it. After baking and slightly cooling, these were still very ooey gooey on the inside (which only added to their appeal as far as I’m concerned!), but at the same time, they were very light and surprisingly fluffy – almost like a “moussey” texture! And that pinch of cinnamon really added something special, in my opinion! Like everyone else, my brownies had a crust on top after baking (as they should), but I personally don’t like the “crust” so I just picked it off and took my pictures “sans brownie crust”.
Speaking of pictures……these aren’t very pretty. In fact, I’d go so far as to say they look like POO. But, I’m very new at this whole photography thing (I’m just a yuppee with a nice camera!), and I haven’t quite mastered the art of making food look pretty yet. I really admire those food bloggers who do such clever things with their food and take such beautiful, unique pictures – but for now, I’m just not that girl. But don’t worry – I’ll get there!!
French Chocolate Brownies
1/2 cup all-purpose flour
1/8 teaspoon salt
1/8 teaspoon cinnamon (optional)
1/3 cup raisins, dark or golden
1 1/2 tablespoons water
1 1/2 tablespoons dark rum
6 ounces bittersweet chocolate, finely chopped
1 1/2 sticks (12 tablespoons; 6 ounces) unsalted butter, at room temperature and cut into 12 pieces
3 large eggs, at room temperature
1 cup sugar
Getting ready: Center a rack in the oven and preheat the oven to 300°F. Line an 8-inch square baking pan with foil, butter the foil, place the pan on a baking sheet, and set aside.
Whisk together the flour, salt and cinnamon, if you’re using it.
Put the raisins in a small saucepan with the water, bring to a boil over medium heat and cook until the water almost evaporates. Add the rum, let it warm for about 30 seconds, turn off the heat, stand back and ignite the rum. Allow the flames to die down, and set the raisins aside until needed.
Put the chocolate in a heatproof bowl and set the bowl over a saucepan of simmering water. Slowly and gently melt the chocolate, stirring occasionally. Remove the bowl from the saucepan and add the butter, stirring so that it melts. It’s important that the chocolate and butter not get very hot. However, if the butter is not melting, you can put the bowl back over the still-hot water for a minute. If you’ve got a couple of little bits of unmelted butter, leave them—it’s better to have a few bits than to overheat the whole. Set the chocolate aside for the moment.
Working with a stand mixer with the whisk attachment, or with a hand mixer in a large bowl, beat the eggs and sugar until they are thick and pale, about 2 minutes. Lower the mixer speed and pour in the chocolate-butter, mixing only until it is incorporated—you’ll have a thick, creamy batter. Add the dry ingredients and mix at low speed for about 30 seconds—the dry ingredients won’t be completely incorporated and that’s fine. Finish folding in the dry ingredients by hand with a rubber spatula, then fold in the raisins along with any liquid remaining in the pan.
Scrape the batter into the pan and bake 50 to 60 minutes, or until the top is dry and crackled and a knife inserted into the center of the cake comes out clean. Transfer the pan to a rack and allow the brownies to cool to warm or room temperature.
Carefully lift the brownies out of the pan, using the foil edges as handles, and transfer to a cutting board. With a long-bladed knife, cut the brownies into 16 squares, each roughly 2 inches on a side, taking care not to cut through the foil.
Serving: The brownies are good just warm or at room temperature; they’re even fine cold. I like these with a little something on top or alongside—good go-alongs are whipped crème fraiche or whipped cream, ice cream or chocolate sauce or even all three!
Storing: Wrapped well, these can be kept at room temperature for up to 3 days or frozen for up to 2 months.


