Quiche is just about my favorite quick-fix dinner. More than likely, I always have everything I need in my fridge and pantry to throw together a delicious meal in under an hour! My mom has a great recipe for quiche made with frozen hashbrowns as the crust, which was my inspiration for this. I sliced potatoes super thin and made a nice, crispy crust- something I think I’ll be doing a lot more in the future, this was delicious! The great news is, we felt great about eating it because it was so packed with vegetables and not sitting in a butter-loaded pastry crust (not that I really mind butter-loaded pastry…)! I used an unusual cheese in this quiche – a delicious Mexican Marigold Mint Caciotta that my sweet husband put in my stocking this Christmas. It comes from a local cheese factory in Dallas called the Mozzarella Company. Deeeeeeelish!!! However, this quiche would be great with goat cheese, feta or even plain ‘ol cheddar. Whatever cheese you have on hand and want to use would be just fine- that’s the beauty of quiche!
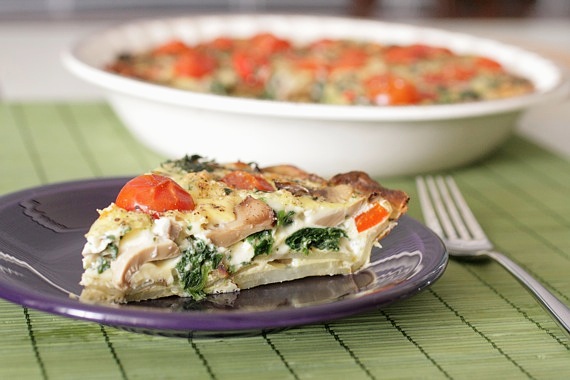
I just love how colorful it is!
Spinach and Tomato Quiche with Potato Crust
-my recipe
2 medium Russet potatoes, scrubbed and sliced into very thin disks (less than 1/8 inch)
1 1/2 tablespoons olive oil
salt and pepper to taste
1 small red bell pepper, chopped
1/2 cup frozen spinach, thawed and drained of all liquid
1/2 cup sliced mushrooms (canned works fine)
5 or 6 cherry tomatoes, cut into halves
1/2 cup cheese (any cheese you have on hand- cheddar is always great)
7 eggs
3/4 cup milk
Preheat oven to 400 degrees. Layer the sliced potatoes in an even layer in the bottom of a pie plate or quiche pan, overlapping the edges a bit. Brush with the olive oil then sprinkle with salt and pepper. Bake for 20 minutes, or until the potatoes are cooked through and slightly crisp. Reduce the oven temperature to 375 degrees.
In a large bowl, combine the red pepper, spinach, mushrooms and cheese. Spread mixture in an even layer into the potato crust, then place the tomatoes cut side down on top of the vegetables.
In another large bowl, combine the eggs, milk and salt and pepper. Whisk until totally combined. Pour over the the vegetables. Top with additional black pepper, if desired. Bake for 35-45 minutes, or until a knife inserted in the center comes out clean. Let cool for at least 10 minutes before slicing.
Serves 4

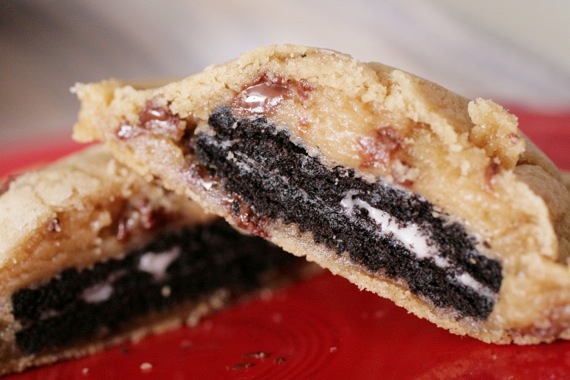
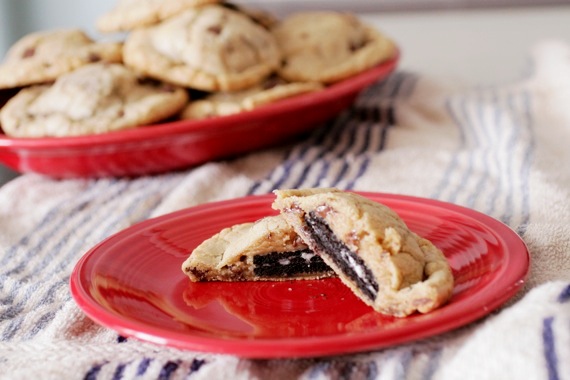
I have almost no words for these cookies…..almost. A few that actually do come to mind are…miraculous, ingenious, life-changing. Could anything stuffed with Oreos and baked to a golden, gooey deliciousness NOT be life-changing? I have the beautiful and talented Jenny of Picky Palate to thank for these. I saw them on her site just a couple of days ago and rejoiced when I discovered I had everything I needed to make them! Hallelujah! Based on so many of my recipes (S’mores-stuffed brownies, chocolate ganache-stuffed cookies, salted caramel-stuffed pumpkin blondies, etc…), I think it’s safe to say that indeed, I LOVE “stuffed” desserts! These are no exception; soft, chewy, gooey…miraculous. You must try them.

Oreo-Stuffed Chocolate Chip Cookies
–Picky Palate
2 sticks softened butter
3/4 cup packed light brown sugar
1 cup granulated sugar
2 large eggs
1 tablespoon pure vanilla
3 1/2 Cups all purpose flour
1 teaspoon salt
1 teaspoon baking soda
10 oz bag chocolate chips
1 bag Oreo Cookies
1. Preheat oven to 350 degrees F. In a stand or electric mixer cream butter and sugars until well combined. Add in eggs and vanilla until well combined.
2. In a separate bowl mix the flour, salt and baking soda. Slowly add to wet ingredients along with chocolate chips until just combined. Using a cookie scoop take one scoop of cookie dough and place on top of an Oreo Cookie. Take another scoop of dough and place on bottom of Oreo Cookie. Seal edges together by pressing and cupping in hand until Oreo Cookie is enclosed with dough. Place onto a parchment or silpat lined baking sheet and bake cookies 9-13 minutes or until cookies are baked to your liking. Let cool for 5 minutes before transferring to cooling rack.
Makes about 2 dozen VERY LARGE Cookies
**I actually used a different chocolate chip cookie recipe for mine, but they spread a little too much, which is why I went ahead and posted Jenny’s recipe as-is; her’s is probably better! 🙂

If you’re anything like me, some nights you’ll end up staring blankly into the fridge with no idea what you’re going to make for supper…and it’s almost suppertime. Lucky for you (and me!), if you’ve got a bag of potatoes and some onion , you’ve got the beginnings of a mighty tasty potato soup! This recipe isn’t new to the blog- it’s made an appearance before, BUT I just got a handy dandy macro lens for Christmas and couldn’t resist re-shooting this soup. Plus, I’ve made a couple of small changes to the recipe that make it just about perfect in my eyes (and Joel’s!). I made this not too long after Christmas and after a week of being horribly sick, and it tasted SO good! So rich and creamy with a slight tang from the sour cream- I really, really love it!
Creamy Potato Soup
-adapted from my mom’s recipe
5-8 medium size russet potatoes, peeled and cut into chunks
1 onion, chopped
1 chicken bouillon cube
salt and pepper to taste
1/3 cup sour cream
1/2 cup shredded cheddar cheese
Put the potatoes, onion and bouillon cube in a large stock pot and add enough water to cover. Cook uncovered, over medium-high heat until it begins to boil, then reduce the heat the low and cook for 30 minutes, or until the potatoes are very soft. Stir in salt and pepper. Using a regular blender or a hand blender (that’s what I used), puree the mixture until smooth and free of lumps (*if you use a regular blender, be sure to puree only a little at a time; you don’t want to overfill your blender). Stir in the sour cream and shredded cheese. Check for seasoning and add more salt and pepper as needed.
Garnish with additional sour cream and cheese, bacon bits or green onion if desired.

Playing with my new lens….what do you think? Maybe I should learn to focus better… 😉
Let me apologize for my strange disappearance these past few days. I’ve been having so much fun spending time off with my hubby that I sort of put blogging on the back burner for a little bit. However, I don’t guess I really have to apologize if I don’t want to…this is MY blog after all, and should I choose to spend all my time cavorting with my man instead of blogging, I suppose that’s quite alright. 😉
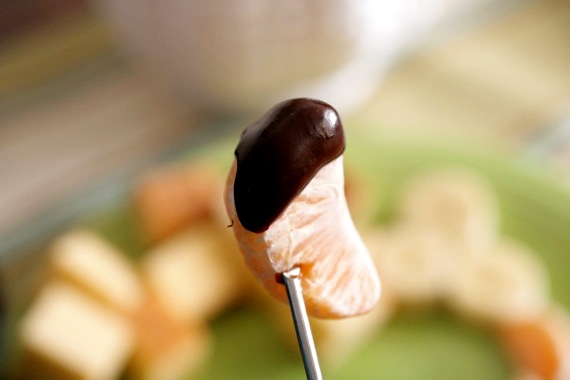
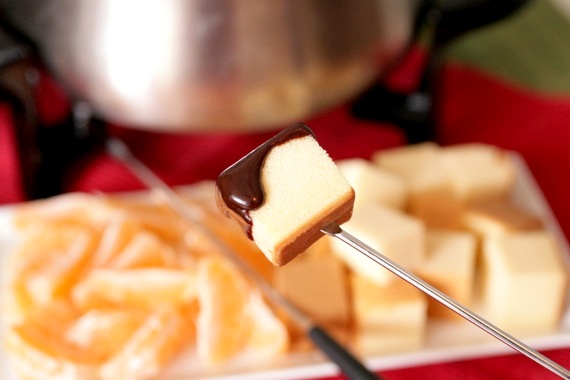
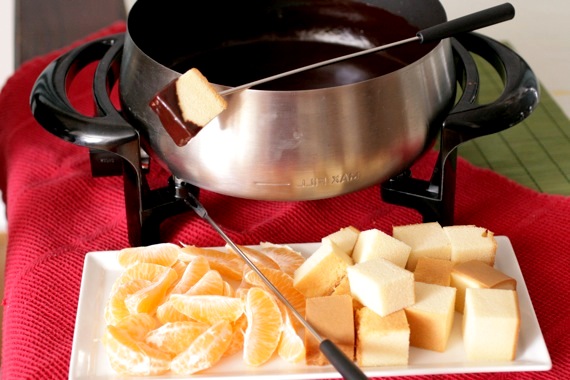
This decadent chocolate fondue is a recipe I’ve been dying to share with you for simply years now. For whatever reason, I never seemed to get a decent picture of it until now, so I’m thrilled to FINALLY share it with you! I make this probably every single Valentine’s Day and sometimes New Year’s Eve or special anniversaries. I just love fondue (especially this recipe because it literally tastes like a liquid version of my Nana’s fudge!). It’s just so much fun to eat and Joel and I always have a great time when I make it. It’s my mom’s recipe (big shocker) and the whole family loves it. And it’s so amazingly quick to make- all you need is about 5 minutes!
Fudgy Chocolate Fondue
-my mother’s recipe
1/2 cup (1 stick) butter
1/2 cup cocoa powder
3/4 cup sugar
1/2 cup evaporated milk
1 teaspoon vanilla
Melt butter in a small saucepan over medium heat; add cocoa powder, sugar and milk, stirring constantly until the sugar dissolves. Remove from heat and stir in vanilla. Transfer to a fondue pot.
Serve with cubes of pound cake (I personally love it with cheesecake bites!), strawberries, bananas, oranges and anything else you want! Enjoy!
**If you don’t have a fondue pot, I highly recommend an electric non-stick version- it makes it so much easier for clean up, and I like being able to control the temperature.
