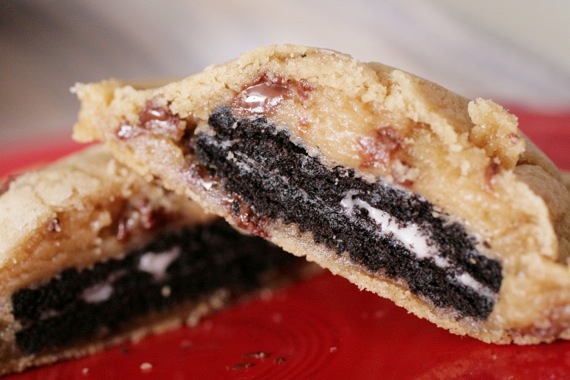
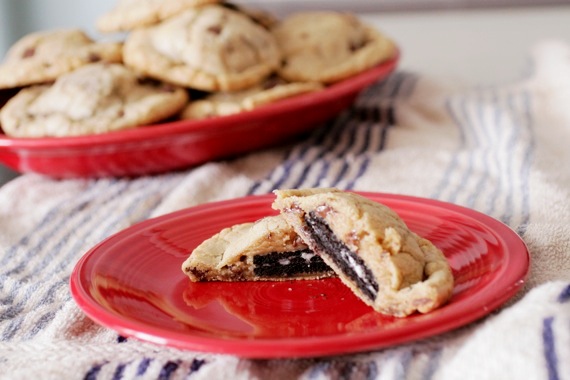
I have almost no words for these cookies…..almost. A few that actually do come to mind are…miraculous, ingenious, life-changing. Could anything stuffed with Oreos and baked to a golden, gooey deliciousness NOT be life-changing? I have the beautiful and talented Jenny of Picky Palate to thank for these. I saw them on her site just a couple of days ago and rejoiced when I discovered I had everything I needed to make them! Hallelujah! Based on so many of my recipes (S’mores-stuffed brownies, chocolate ganache-stuffed cookies, salted caramel-stuffed pumpkin blondies, etc…), I think it’s safe to say that indeed, I LOVE “stuffed” desserts! These are no exception; soft, chewy, gooey…miraculous. You must try them.
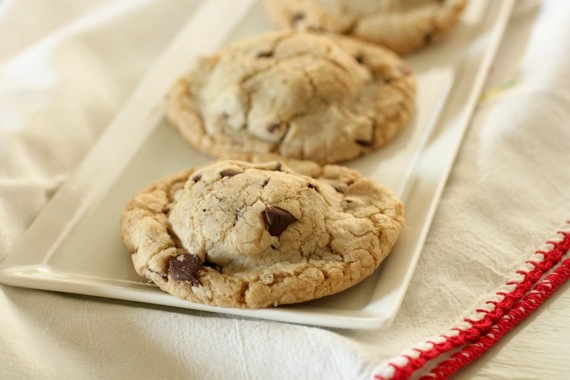
Oreo-Stuffed Chocolate Chip Cookies
–Picky Palate
2 sticks softened butter
3/4 cup packed light brown sugar
1 cup granulated sugar
2 large eggs
1 tablespoon pure vanilla
3 1/2 Cups all purpose flour
1 teaspoon salt
1 teaspoon baking soda
10 oz bag chocolate chips
1 bag Oreo Cookies
1. Preheat oven to 350 degrees F. In a stand or electric mixer cream butter and sugars until well combined. Add in eggs and vanilla until well combined.
2. In a separate bowl mix the flour, salt and baking soda. Slowly add to wet ingredients along with chocolate chips until just combined. Using a cookie scoop take one scoop of cookie dough and place on top of an Oreo Cookie. Take another scoop of dough and place on bottom of Oreo Cookie. Seal edges together by pressing and cupping in hand until Oreo Cookie is enclosed with dough. Place onto a parchment or silpat lined baking sheet and bake cookies 9-13 minutes or until cookies are baked to your liking. Let cool for 5 minutes before transferring to cooling rack.
Makes about 2 dozen VERY LARGE Cookies
**I actually used a different chocolate chip cookie recipe for mine, but they spread a little too much, which is why I went ahead and posted Jenny’s recipe as-is; her’s is probably better! 🙂

Prepare yourself for the world’s most delicious cookie! I’ve made these every Christmas for over 4 years now…they’re SO good! In fact, they’ve been featured on here before, but they were included in a post with 3 other types of cookies, so I decided to revisit them and give them their very own post! They deserve it! They’re originally called Chocolate Peppermint Cookies or something like that, but I changed the name to ‘Chocolate Mint Puddles’ a few years back because I thought it was totally fitting (it must have caught on too, because since then, I’ve seen quite a few bloggers adopt the name too!). If you’re a chocolate/mint addict like me, you’ll absolutely love these. They’re a bit more work than the average cookie, but totally worth it! Make these for your next cookie exchange or party- everyone will go nuts for them!
Chocolate Mint Puddles
–allrecipes.com
3/4 cup butter
1 1/2 cups brown sugar
2 tablespoons water
2 cups semisweet chocolate chips
2 eggs
2 1/2 cups all-purpose flour
1 1/4 teaspoons baking soda
1/2 teaspoon salt
3 (4.5 ounce) packages chocolate covered thin mints (Andes mints)
In a saucepan over medium heat, cook the sugar, butter and water, stirring occasionally until melted. Remove from heat, stir in the chocolate chips until melted and set aside to cool for 10 minutes. Pour the chocolate mixture into a large bowl, and beat in the eggs, one at a time. Combine the flour, baking soda and salt, stir into the chocolate mixture. Cover and refrigerate dough for at least 1 hour.
Preheat oven to 350 degrees F. Grease cookie sheets. Roll cookie dough into walnut sized balls and place 2 inches apart onto the prepared cookie sheets.
Bake for 8 to 10 minutes in the preheated oven, be careful not to overbake. When cookies come out of the oven, Press one mint wafer into the top of each cookie and let sit for 1 minute. When the mint is softened, swirl with the back of a spoon or toothpick to make a pattern with the green filling of the mint wafer. For smaller cookies, break mints in half.
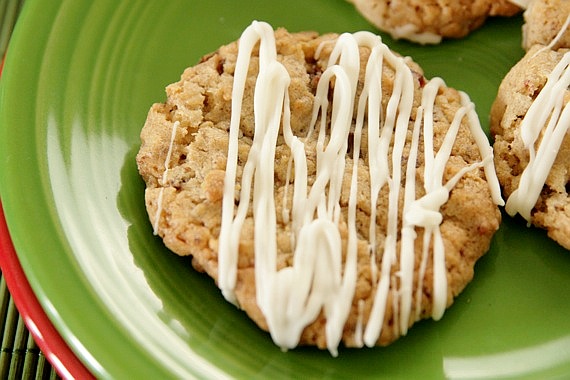
Some of you may remember me winning a cookie contest last year with my Toasted Oatmeal Cookies with Golden Raisins, Pecans and Coconut. It was pretty cool- got my picture in the paper (a boat-load of times!) and they now sell my cookies at a local bakery. Well, this year they asked me to come back as a judge- neat, huh? I got to judge cookies alongside some of DFW’s most prestigious bakers and bakery owners! Very cool! We tasted 7 different yummy cookies, and I came away with some great recipes to share with you! My favorite being these Oatmeal Cranberry Delights. These were the runner up (although they had my vote for 1st place!) and everyone really liked them. They’re slightly chewy, spicy, a little chocolaty and the cranberries and white chocolate add a whole other level of flavor! A perfect holiday cookie- they’re so pretty (and extremely easy to make!). I highly recommend these for your next Christmas party or cookie exchange!
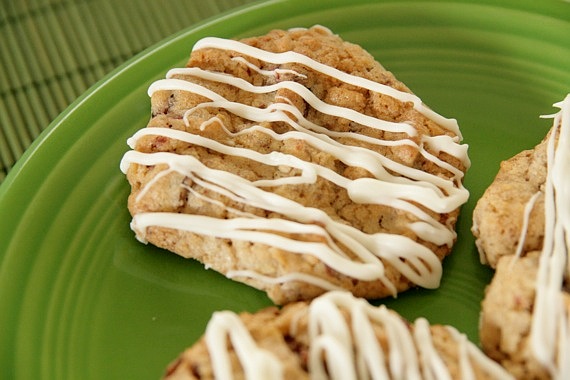
Oatmeal Cranberry Delights
-adapted from Debbie Nicks, Joshua, TX (runner up of the Ft. Worth Star Telegram Very Merry Cookie Challenge 2010)
1 cup (2 sticks) butter (softened)
1 cup sugar
1 cup brown sugar
2 eggs
1 teaspoon vanilla
2 cups self rising flour
1/2 teaspoon salt
1/2 teaspoon cinnamon
2 cups oatmeal
1 cup finely chopped pecans
1 bag of dried cranberries (6 oz.)
1 cup grated milk chocolate bar
1/2 cup melted white almond bark
Preheat oven to 375 degrees. Cream butter, sugars, eggs and vanilla. Mix flour, oatmeal, salt and cinnamon together and add to butter mixture. Stir until ingredients are well mixed. Fold in pecans, crasins, and grated chocolate bar. Drop by rounded teaspoonfuls onto greased cookie sheet. Bake for approximately 10-12 minutes, until golden brown. Move to cooling rack until completely cooled. Drizzle melted almond bark over cookies. Serve after almond bark has dried. Makes approximately 40 cookies.
Well, after a nice long week off, I’m very well-rested and ready to get back to blogging! I hope everyone had a wonderful Thanksgiving with friends and family! We sure did! However, I’m feeling QUITE guilty about my pie-intake over the past few days…I’m not proud to admit I’ve pretty much single-handedly polished off two whole pies without help. SO, no more pie for me for awhile….I’ll just switch to cookies! 😉
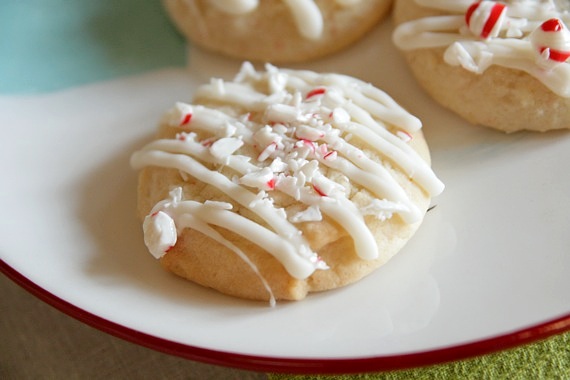
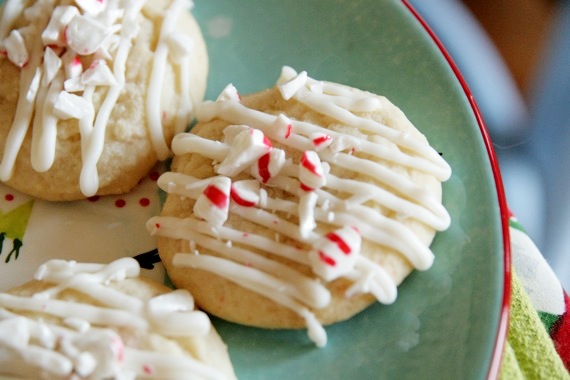
I’m thrilled to say, I think I’ve just found my new favorite Christmas cookie! These are soft and chewy with the tiniest bit of crunch, and they have a delicate kiss of peppermint flavor- thus their name. They’re absolutely delicious and perfect for the holidays! But what makes these so special?? Why, the use of candy cane flour, of course! Never heard of candy cane flour? That’s because I made it up! 😉 When I was finished crushing my peppermints for the topping, I sifted out the dust (it’s a flour/powdered sugar consistency, which is why I deemed it ‘candy cane flour’) and stirred it into my flour/baking powder/salt mixture. It adds a delicate, subtle peppermint flavor without being overpowering- sometimes at Christmas, lots of “pepperminty” things tend to be a little too “pepperminty” for my taste. This was perfect. I even stirred a little of my leftover ‘candy cane flour’ in my coffee this morning! Delicious!
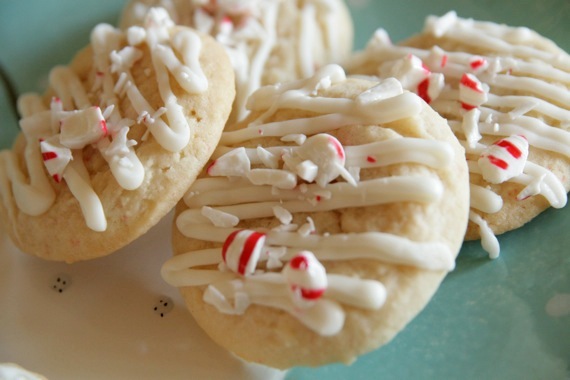
Peppermint Kisses
-basically just an embellished adaptation of Dorie Greenspan’s “Grandma’s All-Occasion Sugar Cookies”
2 cups all-purpose flour
1/2 teaspoon salt
1/2 teaspoon baking powder
1/3 cup candy cane flour**
1 stick plus 2 tablespoons (10 tablespoons) unsalted butter, at room temperature
1 cup sugar
1 large egg
1 large egg yolk
1 teaspoon pure vanilla extract
crushed peppermints, for garnish (about 1/2 cup)
6 ounces (3 squares) white chocolate flavored almond bark or candy coating
Center a rack in the oven and preheat the oven to 350 degrees. Line two baking sheets with parchment or silicone mats.
Whisk the flour, salt, baking powder and candy cane flour together.
Working with a stand mixer, preferably one fitted with a paddle attachment, or with a hand mixer in a large bowl, beat the butter at medium speed for a minute or so, until smooth. Beat in the sugar and continue to beat for about 2 minutes, until the mixture is light and pale. Add the egg and yolk and beat for another minute or two; beat in the vanilla. Reduce the mixer speed to low and steadily add the flour mixture, mixing only until it has been incorporated. When mixed, the dough will be soft, creamy, and malleable.
Drop the dough onto the baking sheets by rounded spoonfuls.
Bake the cookies for 9 to 11 minutes, rotating the sheets at the midpoint. The cookies should feel firm, but they should not color much, if at all. Cool completely.
Heat the almond bark in the microwave in 30-second intervals until melted and creamy. Drizzle over the cooled cookies (I used a ziploc bag with the tip snipped off, but you could also just drizzle with a spoon), then sprinkle with the crushed peppermints.
Makes about 40 cookies.
**Like I noted above, “candy cane flour” is just finely crushed candy canes- you can make it with your food processor or just use a hammer (or rolling pin) and a ziploc bag (which is what I did). Try it in your coffee, stir it into cookie dough, sprinkle over cakes or even dip the rim of your martini glasses in it for a festive cocktail! So fun! 🙂
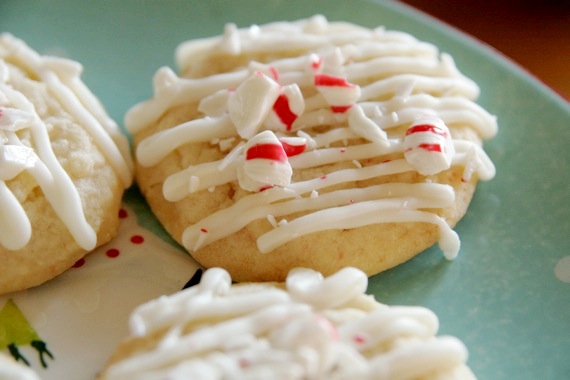
Thanks to Jana, Jeff, Carol and Albert for suggesting the name of these cookies! 😉
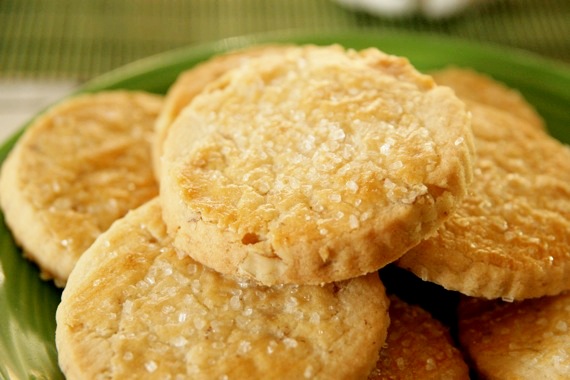
Listen up, dear readers, because I’m going to tell you how to be the most popular guy at work: bring cookies. Often. Think about it- everybody’s face immediately lights up when you announce, “I brought cookies!”, then they ‘ooh and ahh’ and talk about how delicious they are. Yep, nothing brightens up your co-workers’ work days like a fresh, homemade cookie. Cookies like these! I found these in Martha Stewart’s ‘Cookies’ and was intrigued by the use of maple syrup (I’ve really been into maple flavored treats lately!). They’re so crisp and delicious- my coworkers really, really enjoyed them! The coarse sugar on the top really adds an extra special touch, I think. These would be great after dinner with coffee or a hot cup of tea. Very delicate and all-around tasty.
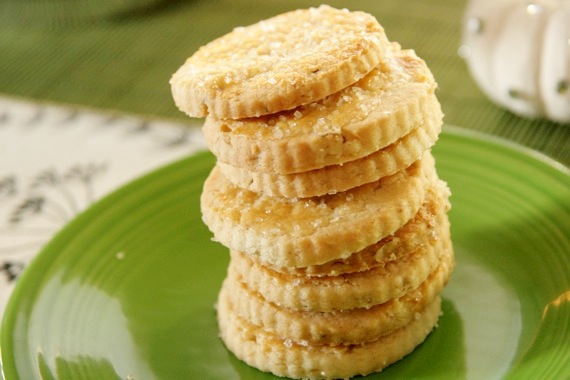
Maple-Walnut Shortbread
-slightly adapted from Martha Stewart Cookies
2 1/4 cups all-purpose flour, plus more for work surface
1/2 cup cake flour (not self-rising)
1/2 teaspoon salt
3/4 cup walnuts (about 2 1/4 ounces), finely chopped
1 cup (2 sticks) unsalted butter, room temperature
3/4 cup granulated sugar
1/4 cup pure maple syrup
1 large egg yolk
1 large egg, lightly beaten
coarse sugar, for sprinkling
Into a medium bowl, sift flours and salt. Whisk in 1/2 cup chopped walnuts, set aside.
In the bowl of an electric mixer fitted with the paddle attachment, cream butter and granulated sugar on medium-high speed until smooth and light, about one minute. Add the maple syrup and egg yolk; beat on medium speed until well combined. On low speed, gradually add flour mixture, beating until just combined. Dough should be smooth and pliable. Flatten into a disk. Wrap in plastic; chill until firm, 1 1/2 hours or overnight.
Preheat oven to 350 degrees. Line baking sheet with parchment paper.
On a lightly floured work surface, roll out dough to 1/4 inch thick. Cut out rounds using a two-inch cookie cutter; place one inch apart on prepared baking sheet. Brush tops with beaten egg and sprinkle the entire surface with coarse sugar.
Bake cookies, rotating baking sheet halfway through, until golden around the edges, 10 to 12 minutes. Transfer to a wire rack to cool. Store in airtight containers at room temperature up to four days. Makes approximately 2 dozen.
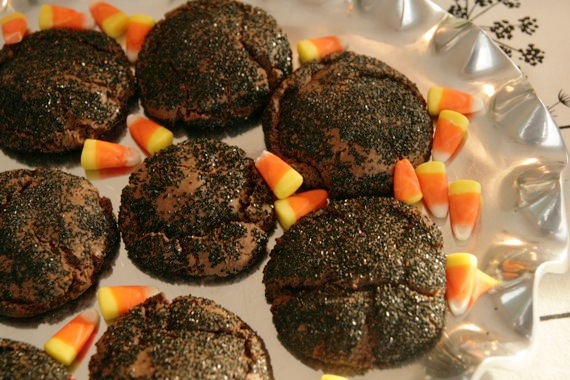
Ugly little things, aren’t they? Yep. Sometimes the best intentions can lead total failures. Like these cookies. I saw these Chocolate Pumpkin Spice Kiss Cookies on Barbara Bakes and immediately set out to make them. They looked totally delicious- soft chocolate cookies filled with a sweet pumpkin spice kiss in the center! YUM! Only thing is…I decided to get ‘creative’ and ended up with some really ugly, rather embarrassing cookies. Remember that time I said there are some recipes food bloggers shouldn’t mess with? Yeah, I totally should have taken my own advice here. I was in the Halloween spirit and thought I’d roll the cookies in some black decorating sugar before baking to give a ‘spooky’ effect. What I ended up with was charred hamburger patty cookies. FAIL.
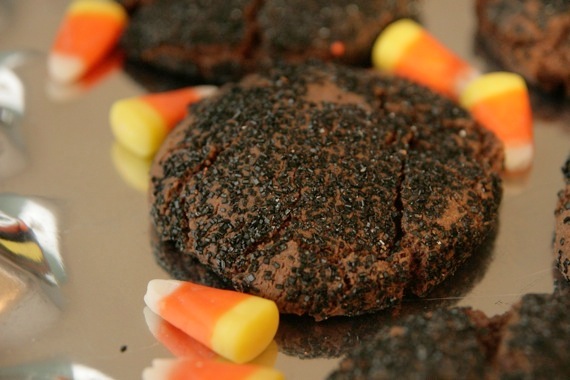
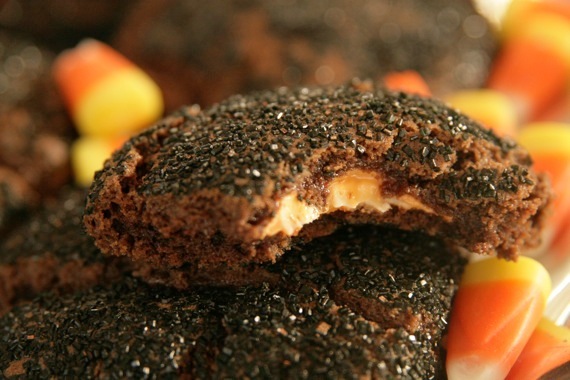
Seriously! Don’t they look like charred hamburger patties??! Not pretty. So, hubby and I had a good laugh over it and decided to go ahead and give them a try anyway…besides the fact that the black sugar turned our mouths and teeth black (eww!), these were actually really, really good! The chocolate cookie mixed with the spiciness of the pumpkin spice kiss was a great combination! Despite how delicious they were, I ended up throwing them out since I was too embarrassed to take them to work with me (I’d forever be ‘the weird lady who brought burnt meat cookies’– not something I’d enjoy!), BUT, I’ll most definitely make these again in the future…just without the black sugar. 😉
Chocolate Pumpkin Spice Kiss Cookies
–Barbara Bakes
2 1/2 cups flour all purpose flour flour
3/4 cup unsweetened cocoa
1 teaspoon baking soda
1 cup sugar
1 cup firmly packed brown sugar
1 cup butter, softened
2 teaspoons vanilla
2 eggs
48 Hershey’s Pumpkin Spice Kisses, unwrapped
In medium bowl, sift together flour, cocoa and baking soda.
In large bowl, combine sugar, brown sugar and butter; beat until light and fluffy. Add vanilla and eggs; beat well. Add flour mixture; blend well. If necessary, cover with plastic wrap; refrigerate 30 minutes for easier handling.
Heat oven to 375°F. For each cookie, with floured hands, shape about 1 tablespoon dough around 1 Hershey’s Pumpkin Spice Kiss, covering completely.
Place 2 inches apart on ungreased cookie sheets. (I always bake cookies on parchment paper.)
Bake at 375° for 7 to 10 minutes or until set and slightly cracked. Cool 2 minutes; remove from cookie sheets. Cool on wire rack for 15 minutes or until completely cooled.
I hope everyone has a wonderful, safe and FUN Halloween!!! 🙂

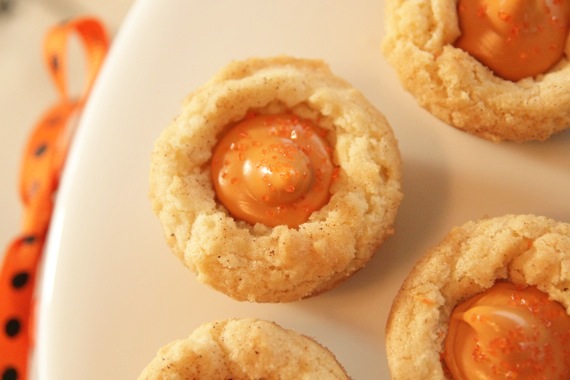
I’ve never been a big fan of those ‘peanut butter blossoms’- you know, the peanut butter cookie with a Hershey kiss stuck in the middle? For whatever reason, I just never liked them. Oddly enough, however, those same cookies were the inspiration for these little guys. Nothing fancy, just a plain sugar cookie sprinkled with cinnamon/sugar and topped with a Hershey pumpkin spice kiss. But OH how yummy! I took these to work and (of course) they were gobbled up! Such a cute little Fall/Halloween treat that takes no time to make!
Pumpkin Spice Blossoms
-inspired by this recipe from Betty Crocker
1 batch of your favorite sugar cookie dough, or mix (this recipe would be great!)
24 Hershey Pumpkin Spice Kisses, unwrapped
1 teaspoon cinnamon/sugar mixture, for sprinkling
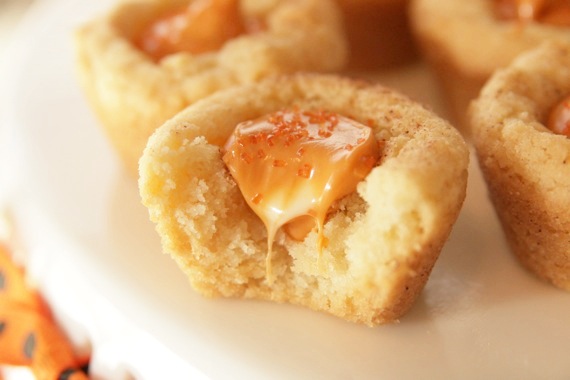
Preheat oven to 375 degrees. Make dough as directed and scoop into 2 mini muffin pans (that gave me 24 cookies). Sprinkle with the cinnamon/sugar mixture and bake for 10-12 minutes, until cookies are golden brown. Let cool for about 3 minutes, then gently press a pumpkin spice kiss into each cookie. **I chose to sprinkle mine with a little orange decorating sugar- totally optional!
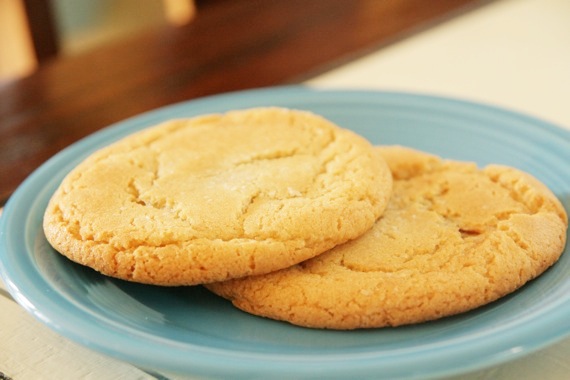
You see these cookies? They look like pretty average, plain ‘ol cookies, don’t they? Well. You’re in for a treat, my friends, because these are NO average cookies! These have a special secret lurking within…just waiting to be discovered. All it takes is one bite………….
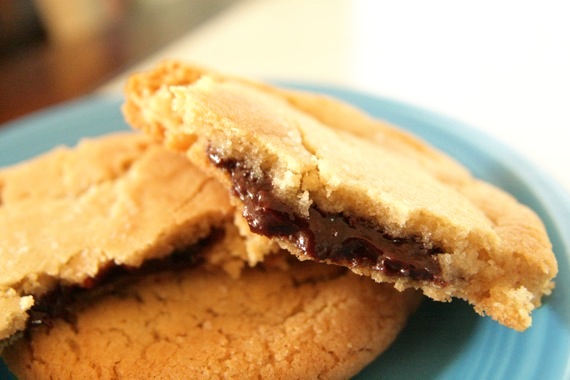
Aaaaand BOOM, BABY!! Gooey, warm, flowing chocolate right in the center! One bite and suddenly you’re in heaven. Chocolate heaven. The cookie is warm, soft and chewy; and when it’s accompanied by the soft, melty chocolate in the center, it’s just pure bliss. I got the idea for these the other night while trying to sleep (that happens a lot- most people count sheep; I think up cookie ideas)- I was thinking about how much I love chocolate chip cookies, and somehow I ended up with these in mind. They’re really, really simple to make – just whip up some quick ganache (chocolate and heavy cream), then whip up your favorite chocolate chip cookie dough (sans chocolate chips), stuff the dough with the ganache and you’re done (practically). Unfortunately I couldn’t think up a really clever, delicious-sounding name for these (although hubby suggested I call them “Transformer Cookies”, since there’s more than meets the eye……yep, that’s who I married, folks) – but I think Chocolate Ganache-Stuffed Cookies will do nicely.
Chocolate Ganache-Stuffed Cookies
1 batch chocolate chip cookie dough, without the chocolate chips (any recipe you want- I used this one)
1/2 cup heavy cream
1 cup (approx. 6 oz.) chocolate chips
pinch of sugar
salt for sprinkling
Preheat oven to 350 degrees. Heat heavy cream and sugar in a small pan over medium heat until boiling; pour over the chocolate chips. Let sit for a few seconds then stir to combine. Chill for at least one hour.
Make the cookie dough according to desired recipe. Chill.
To assemble: using a small cookie scoop or a spoon, scoop out some dough- flatten with the palm of your hand and place a small spoonful of ganache in the center. Cover with another scoop of flattened dough and seal the edges (you’ll have a small disk), then gently roll into a ball. Place on a baking sheet lined with parchment paper. Sprinkle with sea salt. Place each cookie at least 2 inches apart on cookie sheet.
Bake for 12-15 minutes, or until cookies are golden brown. If you’re like me, you’ll eat them hot out of the oven, but my husband likes them better when they’re completely cooled. Enjoy!
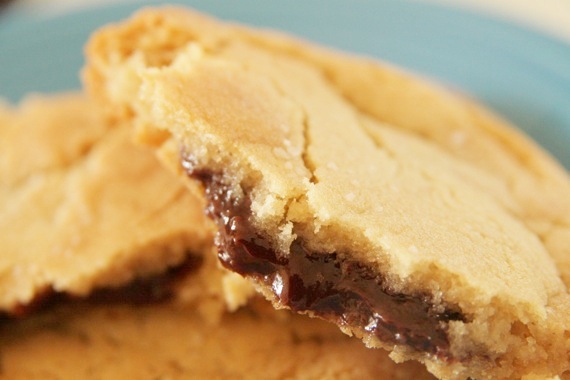
These cookies are seriously the best thing to come out of my oven in a long time- they’re perfectly, wonderfully, simply delicious!
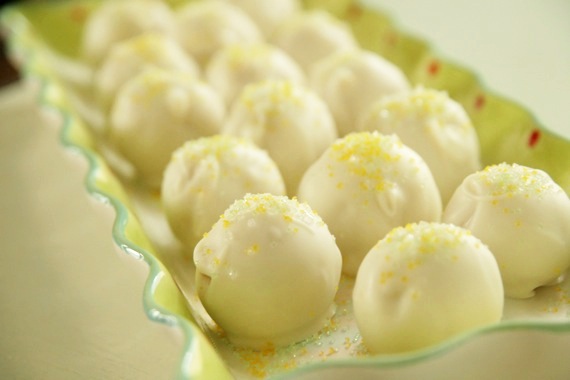
No doubt you’ve heard of cake balls, and Oreo truffles, and cookie dough truffles; and most likely, you’ve even made your own cake balls, Oreo truffles, etc. I know I’ve definitely made my fair share of all kinds. And that’s exactly what these are- more ‘dessert balls’. But these are oh-so much better than the run-of-the-mill Oreo truffles or cake balls! You all know how Oreo truffles work- crushed up Oreos, cream cheese and chocolate coating. These are essentially the same thing, except made with freshly baked sugar cookies and the zest and juice of lemon and lime. I must say….pretty darn tasty. These taste like key lime pie- they’re super tart, chewy and insanely rich. As soon as my hubby got home from work, I immediately shoved one into his mouth and his exact response was, “oh my gosh, these are AWESOME!!!” My family was inclined to agree- since there were so many, my grandmother took them to my aunt and uncle’s house where they were quickly devoured (so I’m told). They even passed the test of all tests- my cousin Ethan loved them. If Ethan loved them- they’ve got to be good! I have big plans to try these in all kinds of flavors- strawberry, peach, maybe even apricot. But for now, the lemon-lime is the flavor of choice!
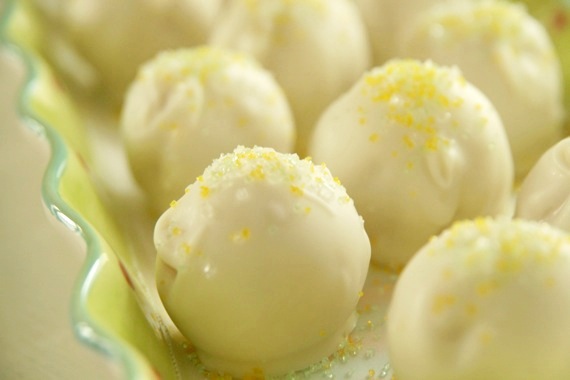
Lemon-Lime Sugar Cookie Truffles
1 batch of sugar cookie dough (I used a store-bought mix, but you can use any recipe you like!)
zest and juice of 1 large lemon and 1 large lime
1 1/2 blocks cream cheese (12 ounces) at room temperature
1 package white chocolate candy coating
colored sprinkles or coarse sugar, for garnish
Preheat oven to 350 degrees. Prepare the cookie dough as directed on package or recipe; add in the zest and juice of the lemon and lime and mix well. Spread the cookie dough in a greased 9×9 baking dish and bake for 30-40 minutes, or until cookies are fully baked. Cool completely.
When cookies are cooled, using your hands, remove from the dish and crumble into the bowl of a stand mixer or food processor (small chunks are fine). Add in the cream cheese and mix until the cookie crumbs and cream cheese are completely mixed together. Roll into 1-1 1/2 inch balls and refrigerate for at least 1 hour.
When the balls are thoroughly chilled, melt the white chocolate candy coating in the microwave, or over a double boiler. Carefully dip each ball into the white chocolate and turn to coat. Remove with a tooth pick and set on a cookie sheet lined with wax paper. Top with sprinkles. Repeat until all the balls are coated. Store in the refrigerator.

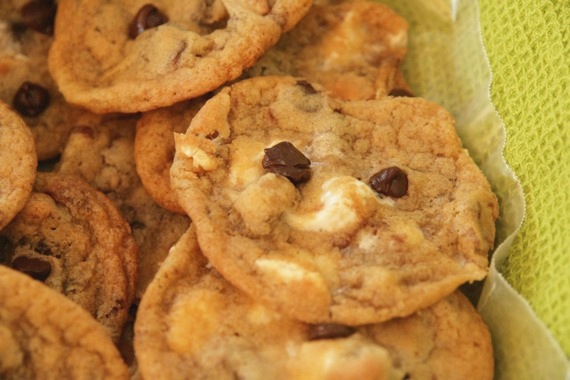
People really love cookies. I’ve come to that conclusion rather quickly. There’s no better way to instantly become the most interesting person in the room- show up with an arm full of freshly baked, homemade cookies and immediately, you’ve become everyone’s favorite person. People really love cookies. I discovered this months back, when I started bringing cookies to work with me and my colleagues went crazy for them. And then again recently, when I would bring baskets of cookies to opera rehearsals and performances (singers love free food!). The cookies would literally last about 10 minutes before being completely demolished. I was immediately everyone’s favorite cast member. I even got a marriage proposal (sorry Dan, I’m taken!). Every night when I would walk into the dressing room, some of the other ladies would eagerly look at me to check and see if I was toting baked goods. Like I said- people really, really love cookies.
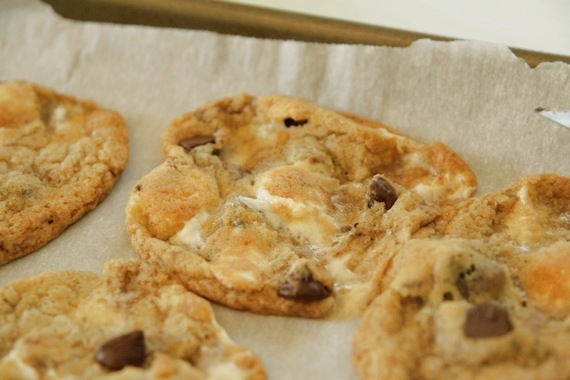
I think these were everyone’s overall favorites. Lots of people wanted the recipe, so here it is y’all! I had some chocolate covered graham crackers that I wanted to use in some way, plus some marshmallows, so I instantly thought of S’Mores cookies. Everybody likes S’Mores! I used Dorie Greenspan’s chocolate chip cookie recipe, then added in the chopped up chocolate covered graham crackers and marshmallows and voila! S’Mores cookies! My only complaint was that the graham cracker taste wasn’t quite strong enough- next time I’ll definitely add more. But overall, these were a smash hit, and I have to agree with my cast members- they were pretty darn tasty! Now that all the operas are over (thanks everybody, for a great season!!!), I won’t be making cookies for everybody anymore, but hopefully my fellow singers can come here and get the recipes and make some for themselves!

(Here’s a picture from the opening night of Don Giovanni-sorry it’s fuzzy, it was taken with my iPhone)
Chocolate Chip S’Mores Cookies
-adapted from Dorie Greenspan
2 cups all-purpose flour
1 teaspoon salt
3/4 teaspoon baking soda
1 cup unsalted butter, at room temperature
1 cup sugar
2/3 cup packed light brown sugar
2 teaspoons pure vanilla extract
2 large eggs
1 cup semi-sweet chocolate chips
1 cup chopped chocolate covered graham crackers (store-bought is fine)
1 cup mini marshmallows
Center a rack in the oven and preheat the oven to 375 degrees F. Line two baking sheets with parchment or silicone mats.
Whisk together the flour, salt, and baking soda.
Working with a stand mixer, preferably fitted with the paddle attachment, or with a hand mixer in a large bowl, beat the butter at medium speed for about 1 minute, until smooth. Add the sugars and beat for another 2 minutes or so, until well-blended. Beat in the vanilla. Add the eggs one at a time, beating for 1 minute after each egg goes inches. Reduce the mixer speed to low and add the dry ingredients in 3 portions, mixing only until each addition is incorporated. On low speed, or by hand with a rubber spatula, mix in the chocolate, graham crackers and marshmallows.
Spoon the dough by slightly rounded tablespoonfuls onto the baking sheets, leaving about 2 inches between spoonfuls.
Bake the cookies- one sheet at a time and rotating the sheet at the midway point- for 10-12 minutes, or until they are brown at the edges and golden in the center; they may still be a little soft in the middle, and that’s just fine. Pull the sheet from the oven and allow the cookies to rest for 1 minute, then carefully, using a wide metal spatula, transfer them to racks to cool to room temperature.
Repeat with the remainder of the dough, cooling the baking sheets between batches.
